Course Summary
1. ESXi 4.1 Installation & Configuration
2. ESXi 5.0 Installation & Configuration
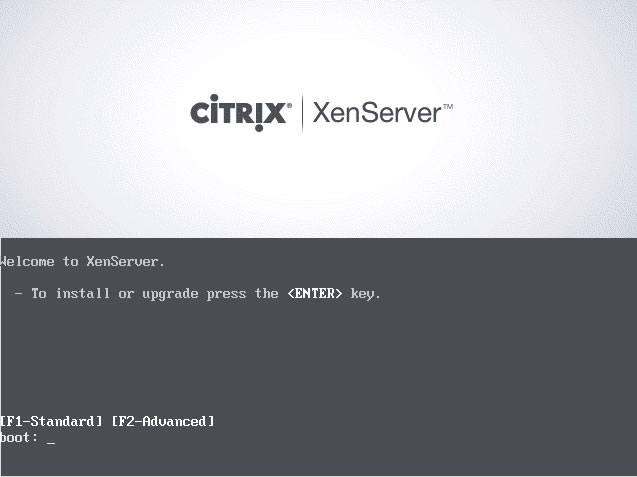
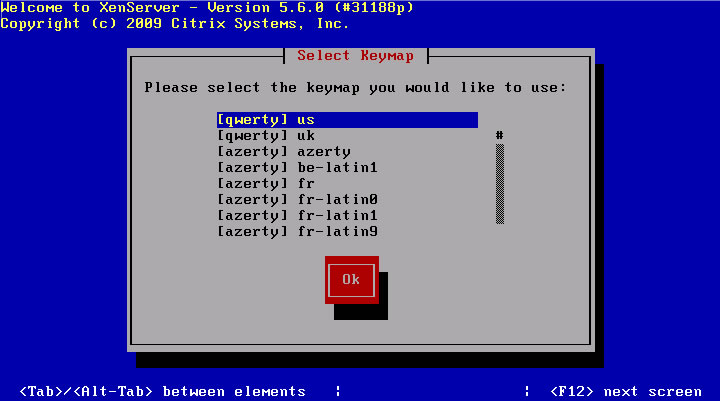
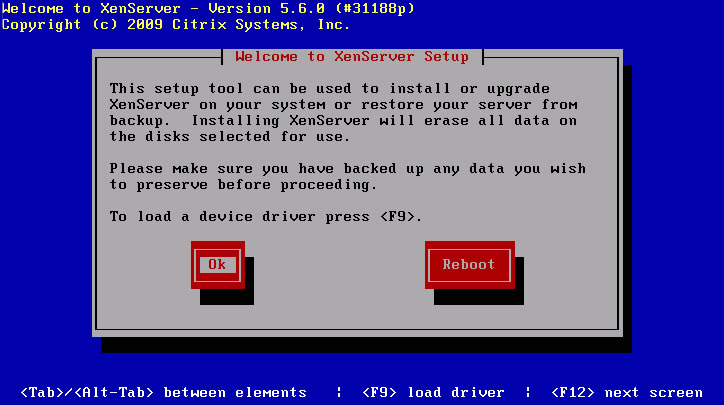
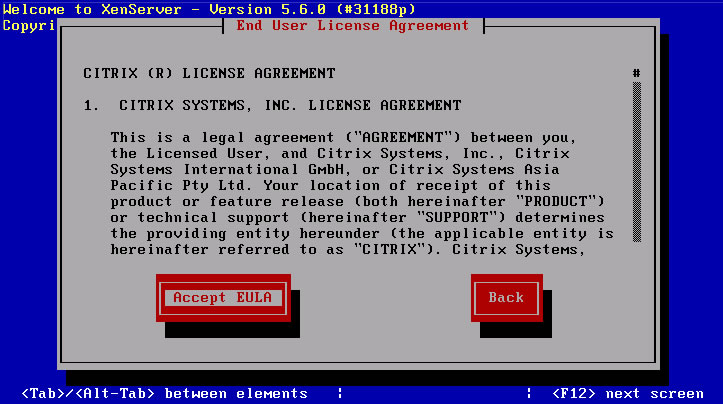
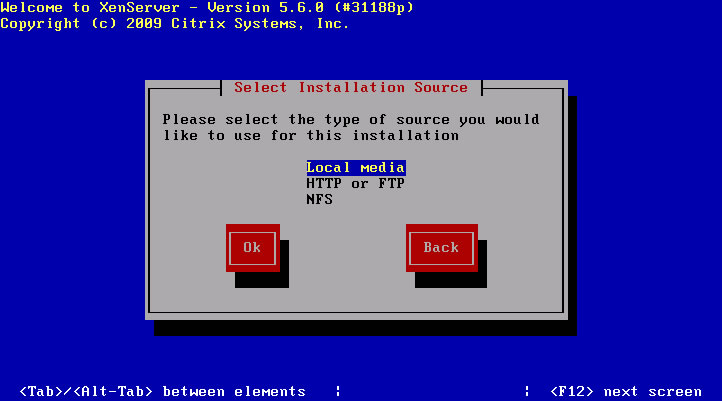
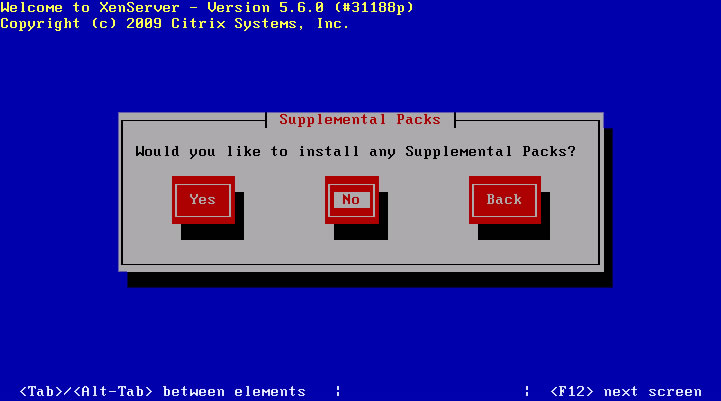
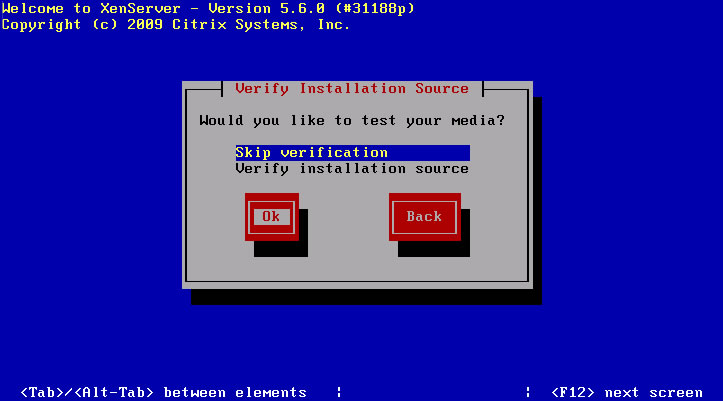
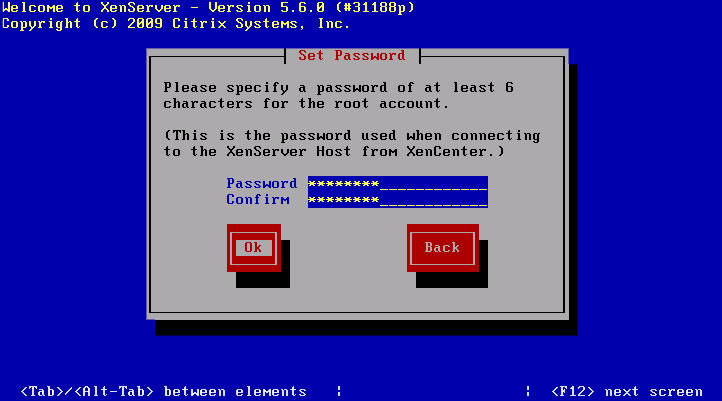
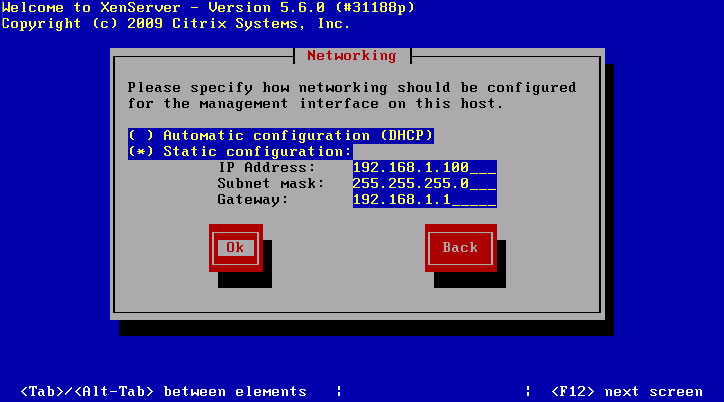
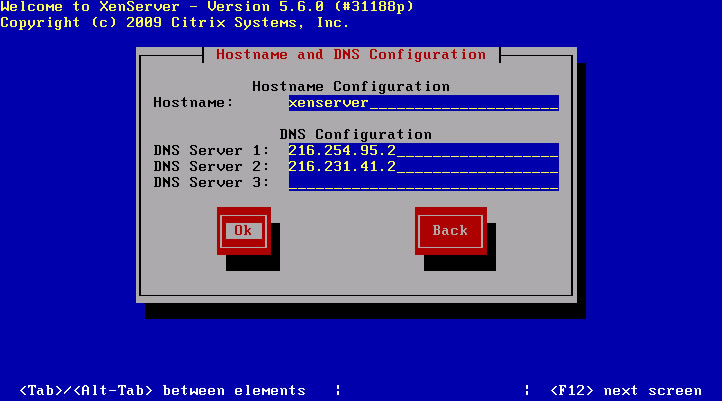
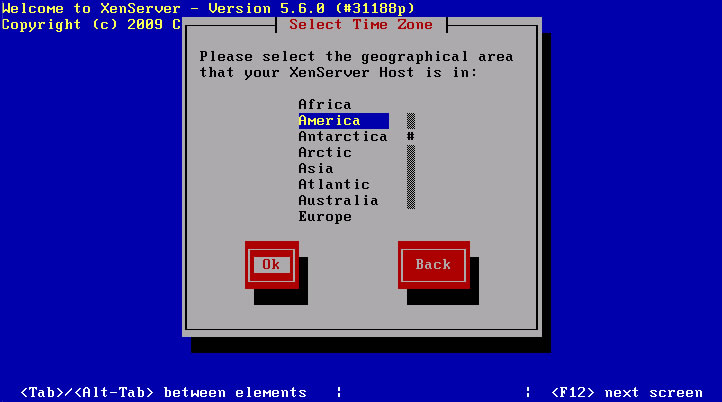
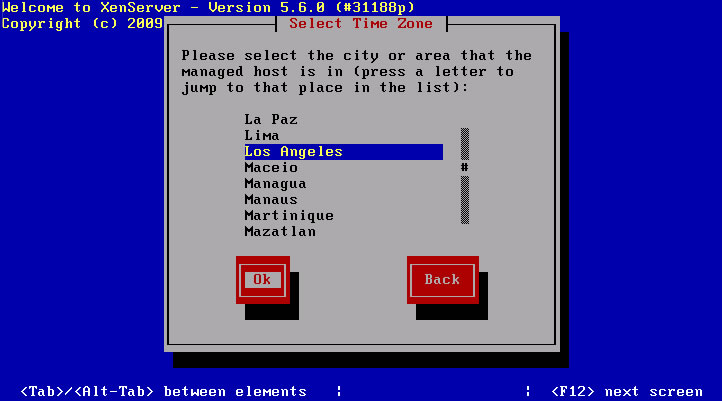
3. XenServer 5.6 Installation & Configuration
4. ESXi Windows XP Pro Installation & Configuration
5. ESXi Windows 7 Installation & Configuration
6. ESXi Windows Server 2003 Installation & Configuration
7. ESXi Windows Server 2008 Installation & Configuration
8. VDI Quiz
Course Materials
ESXi 4.1 Installation & Configuration
1. Using compatible hardware boot from the ESXi 4.1 CD and press Enter to start the ESXi Installer
2. Press Enter to install ESXi 4.1.0
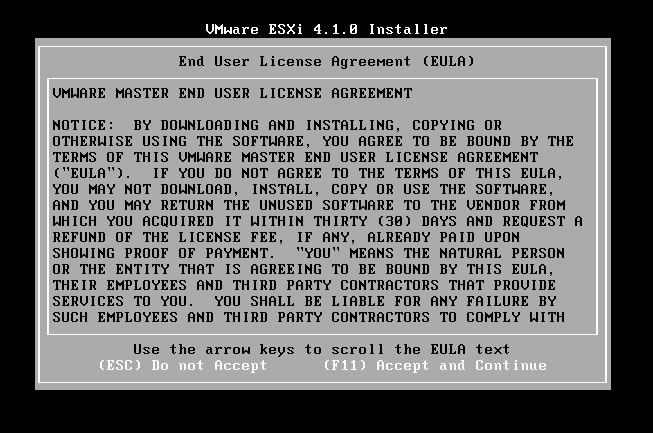
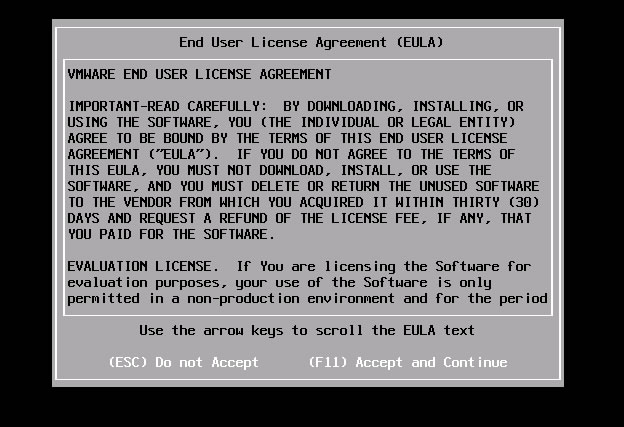
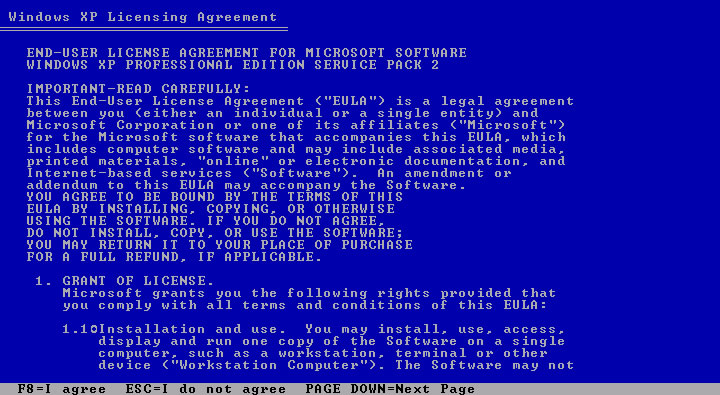
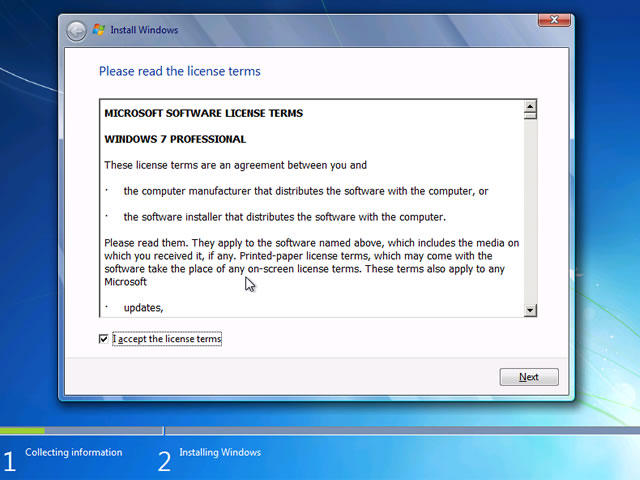
3. Press F11 to accept the End User License Agreement
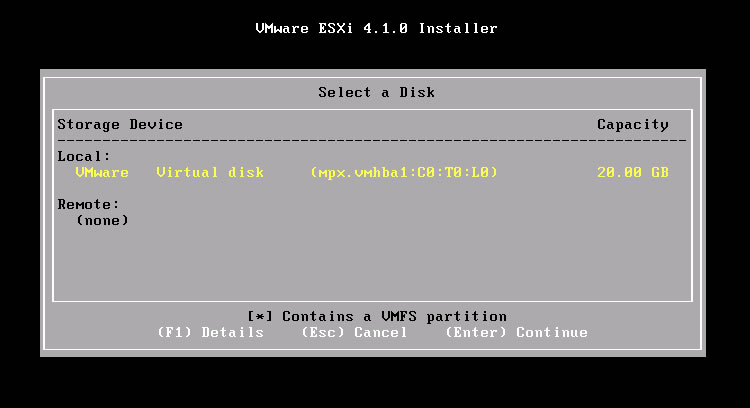
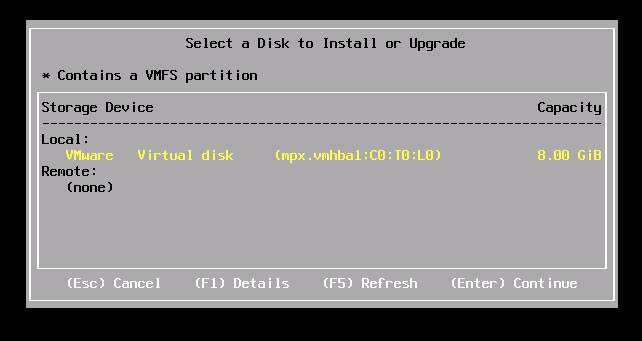
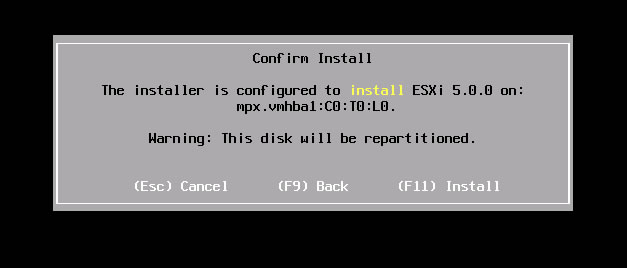
4. Select a disk to install ESXi on to and press Enter to continue
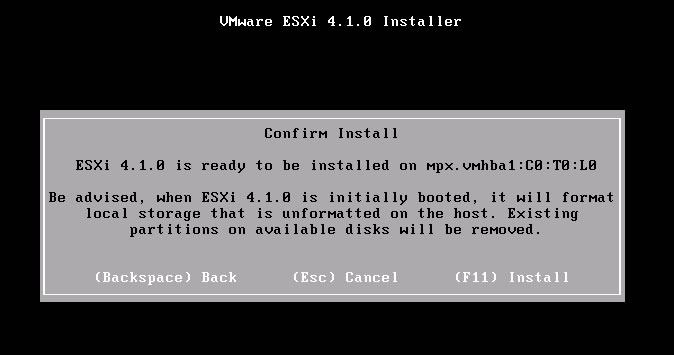
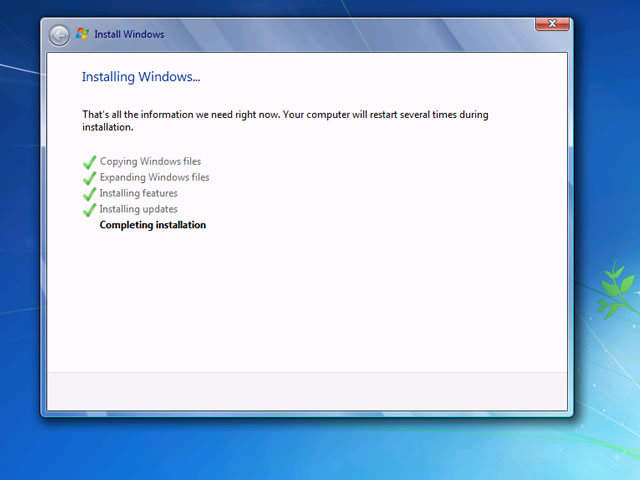
5. Press F11 to install, which will delete any existing data and partitions on the disk you selected
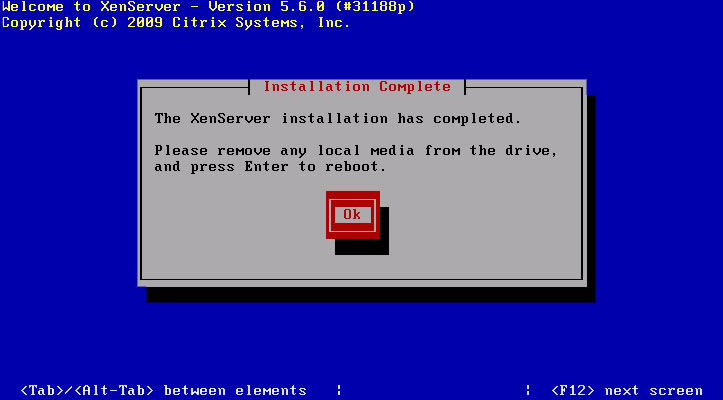
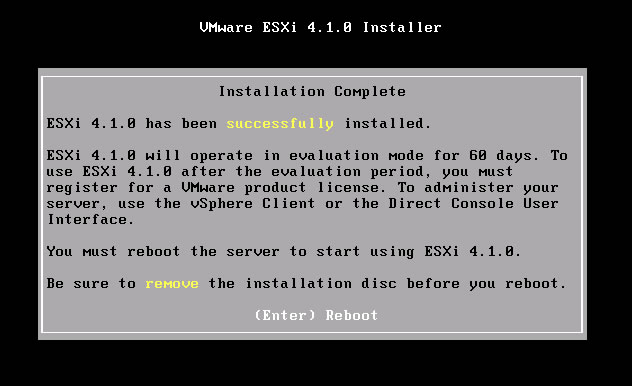
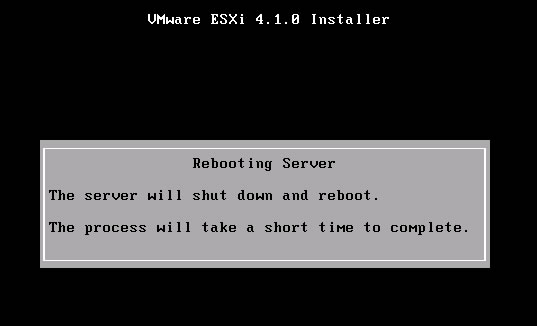
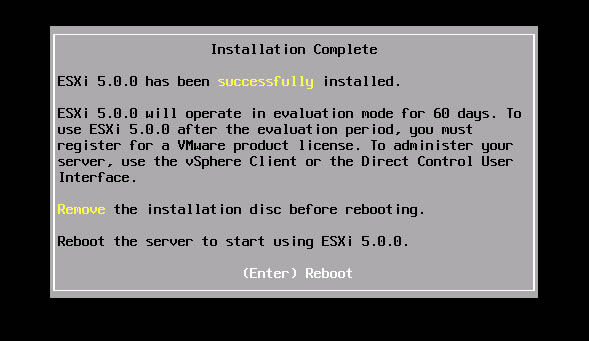
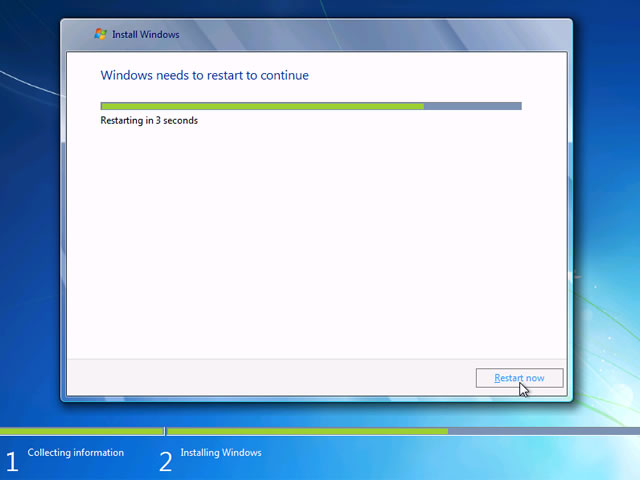
6. After the ESXi installation has completed, remove the CD and press Enter to reboot
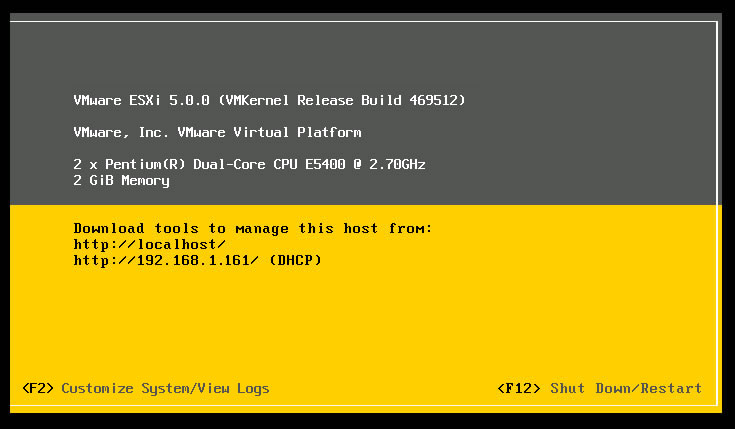
7. The server will shutdown and reboot in a few moments
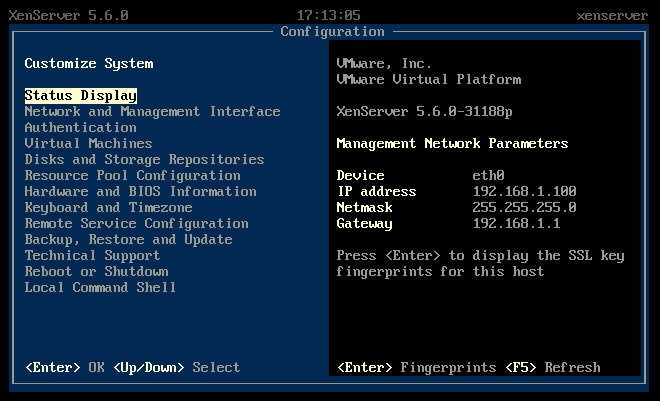
8. Press F2 on the ESX console to customize the system
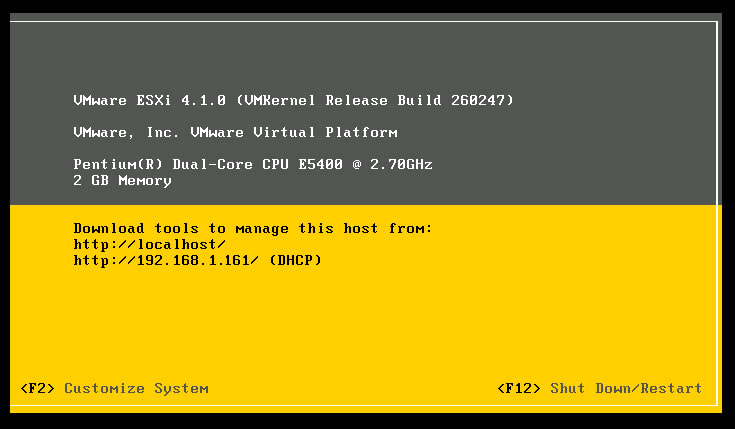
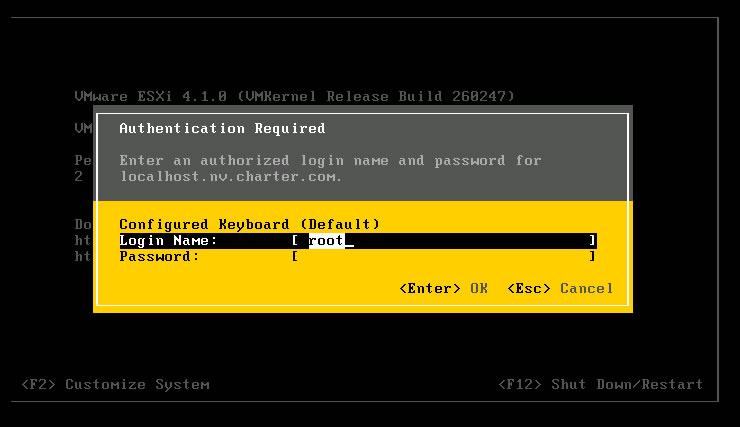
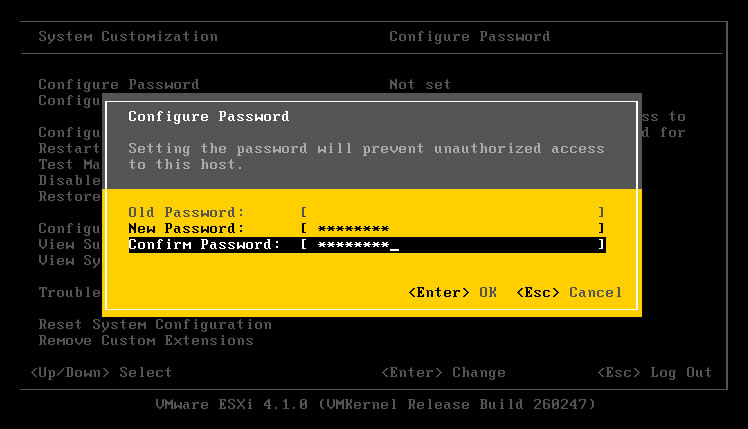
9. The initial root password is blank, so pressing Enter will get you in
10. Press Enter to configure password
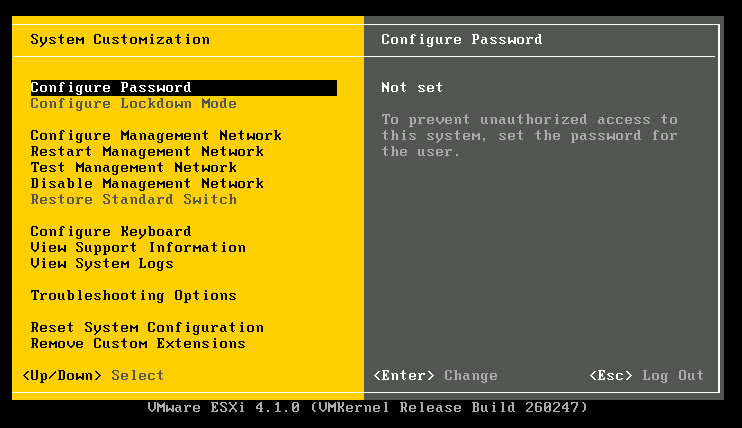
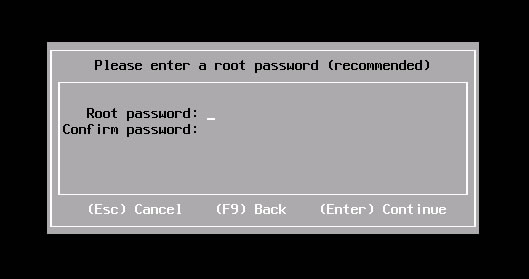
11. Enter a new root password, confirm the password and press Enter
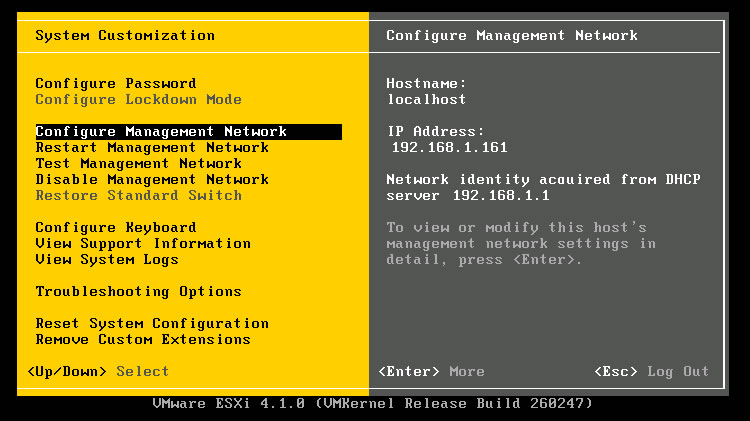
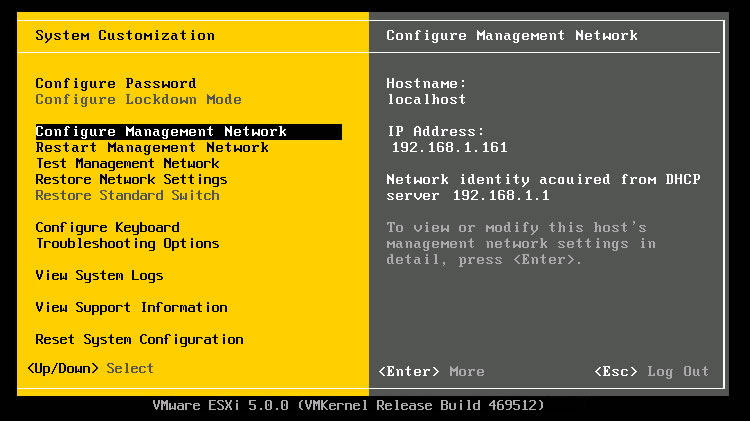
12. Press the down arrow key to scroll down to Configure Management Network and press Enter
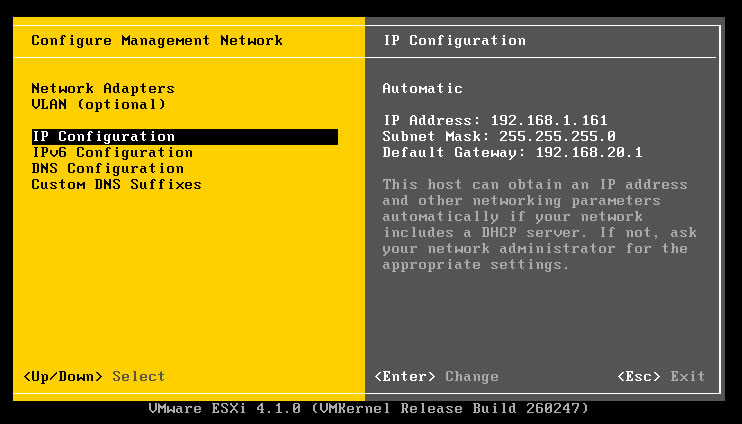
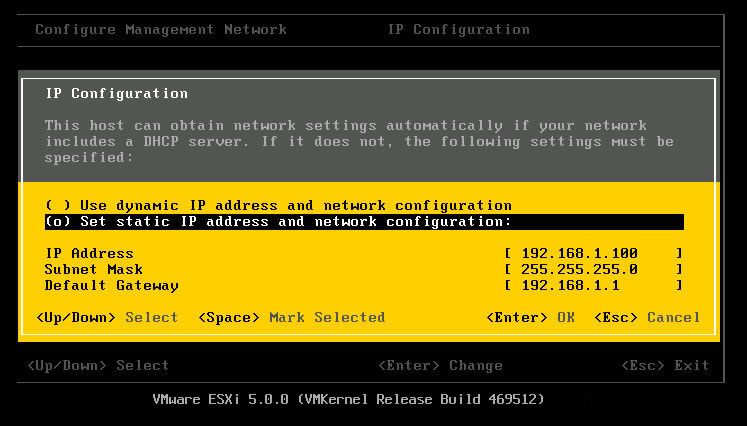
13. Press the down arrow key to scroll down to IP configuration and press Enter
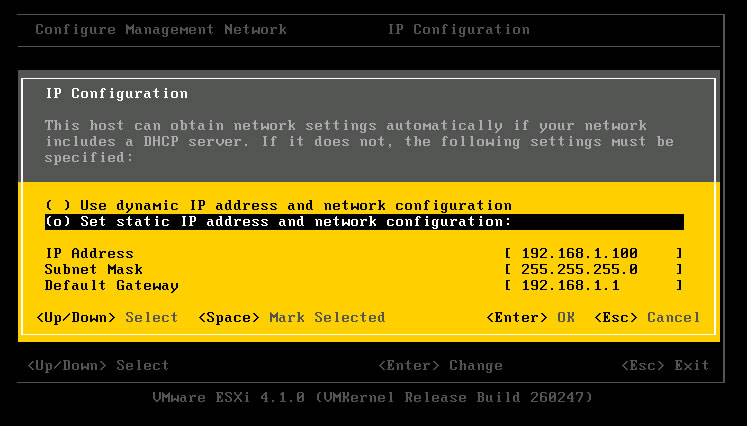
14. Press the down arrow key to scroll down to set static IP and press Space to select, then scroll down to enter IP, Subnet and Gateway configuration information and press Enter when complete
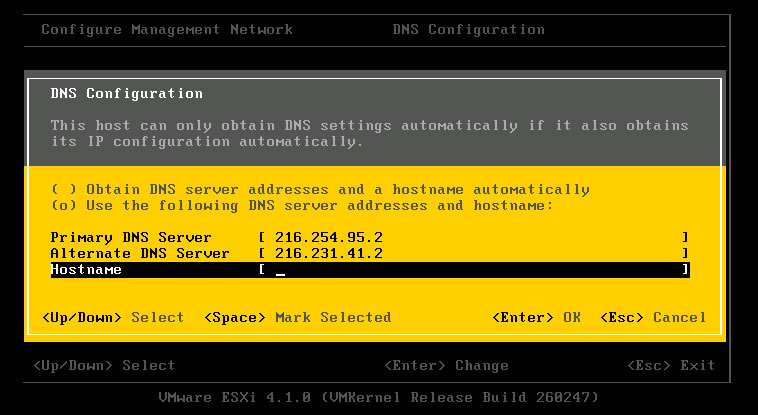
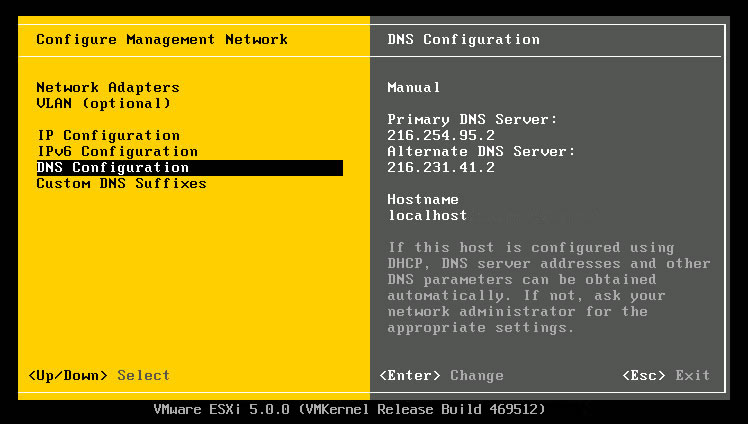
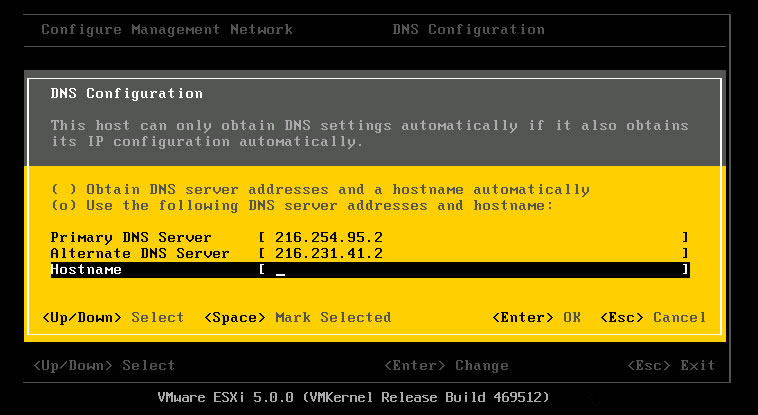
15. Press the down arrow key to scroll down to DNS and press Enter to change
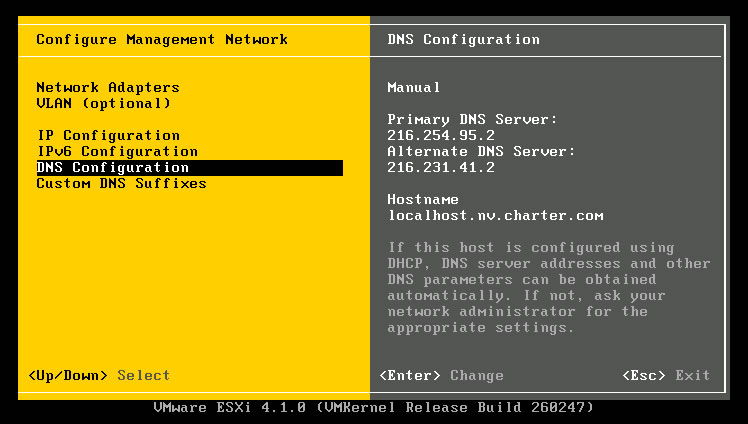
16. Configure DNS and press Enter
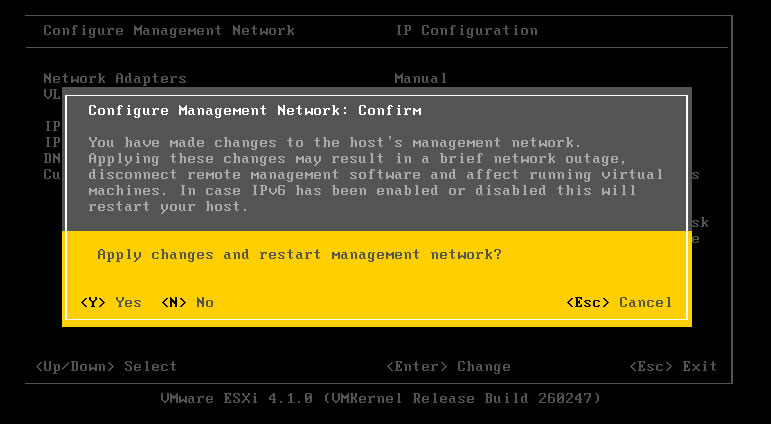
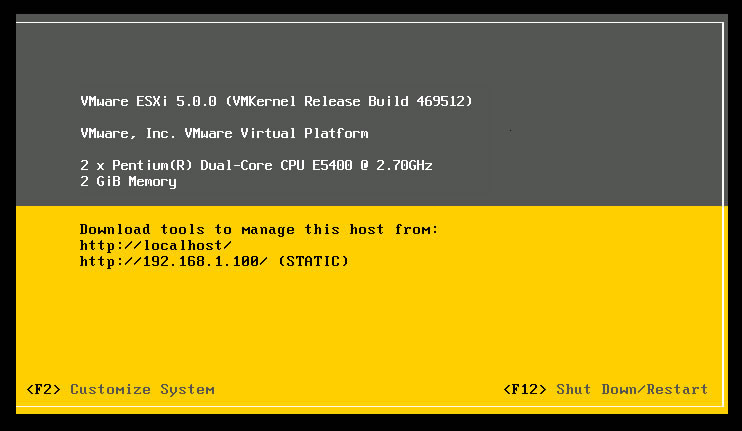
17. Press the ESC key to exit Management Network, then press Y to apply changes and restart Management Network
18. The ESX console will now display the Static IP address and the ESX server is operational

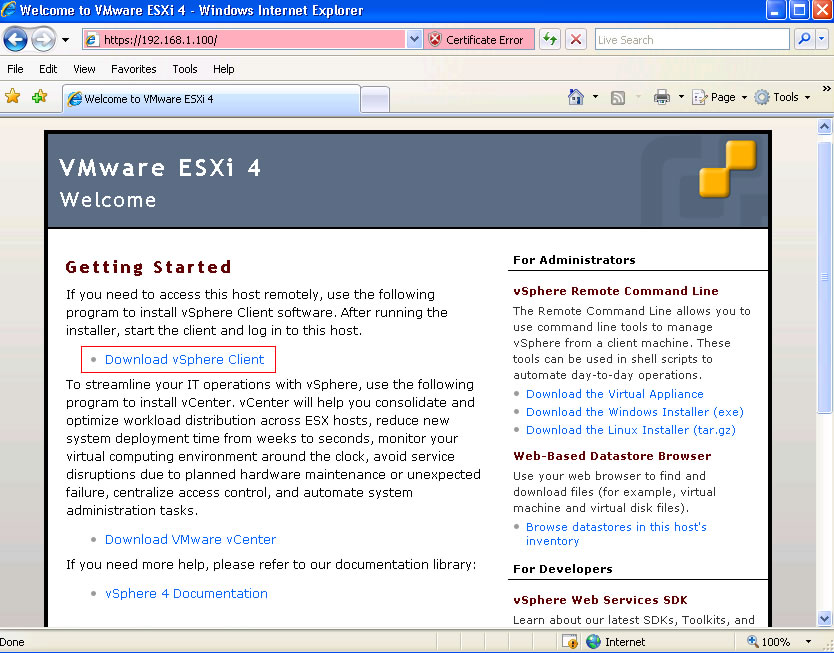
19. From a Windows XP/7 based machine open Internet Explorer and enter the IP address for the ESXi server, then click on the link to download vSphere Client and run the installation using default settings
20. Launch the vSphere client and enter the IP address and login credentials for the server you installed
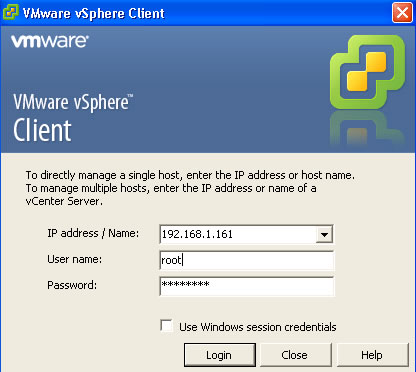
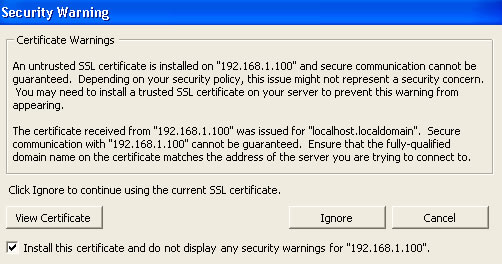
21. When prompted by a Certificate Warning, check the box to install the certificate and then click ignore
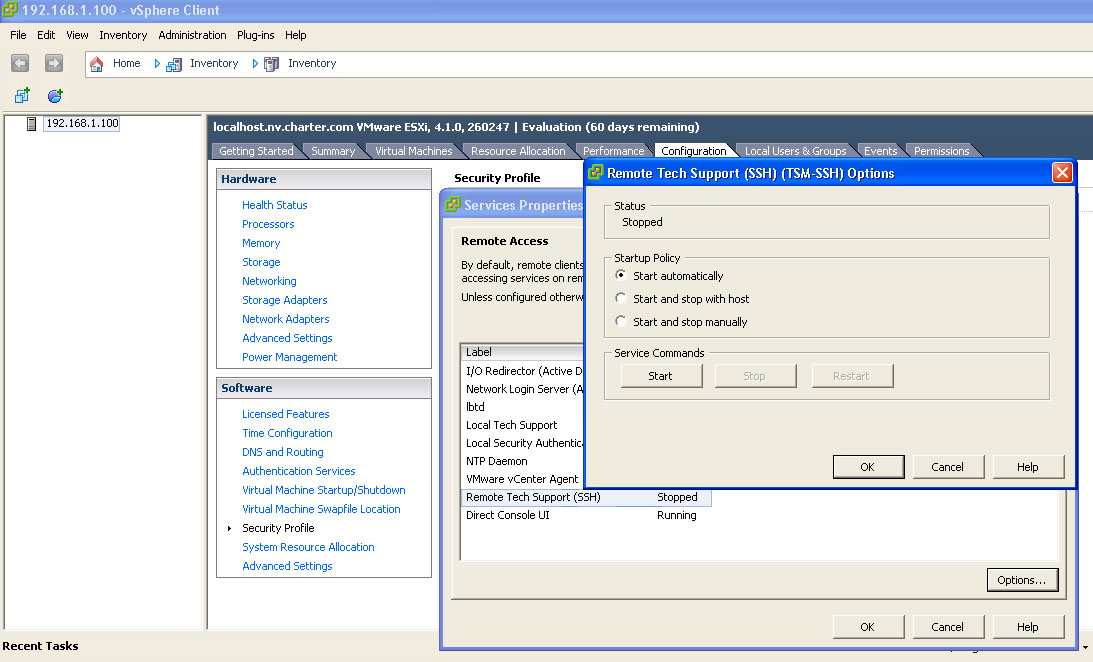
22. Configure Remote Tech Support (SSH) by selecting the server IP address, click the Configuration tab, security profile, properties, Remote Tech Support (SSH), select Start Automatically, click Start and click OK
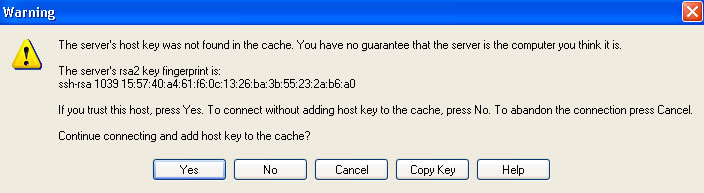
23. Download and install WinSCP then connect to your ESXi server by entering the server IP address, login credentials, change the file protocol to SCP and click Login
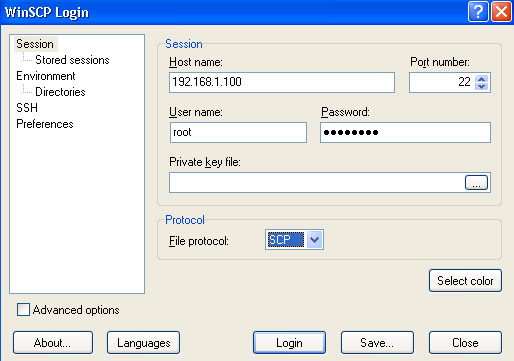
24. Click Yes to acknowledge the warning about the host key
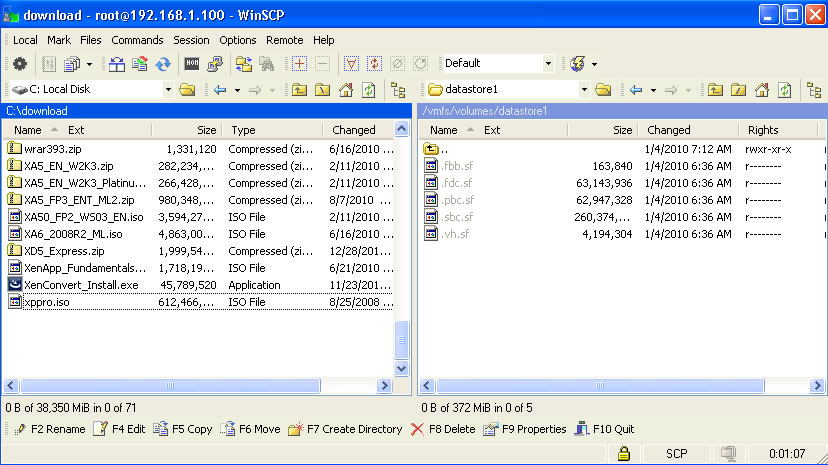
25. Navigate to the appropriate local computer ISO location folder on the left pane and go to /vmfs/volumes/datastore1 on the ESXi server then select an ISO and drag it over to copy it to the server. This is media which will later be used to install Virtual Machines on the ESX host
|
ESXi 5.0 Installation & Configuration
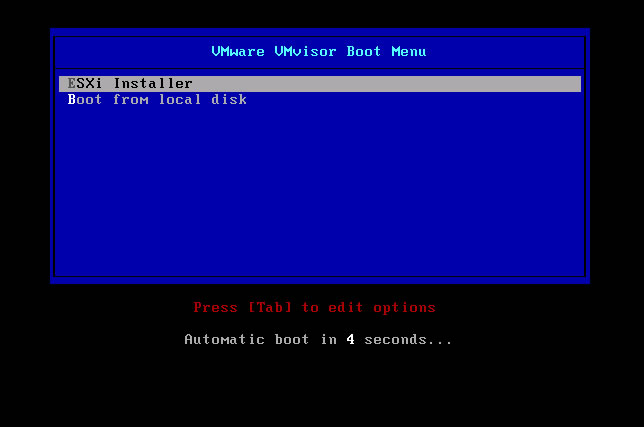
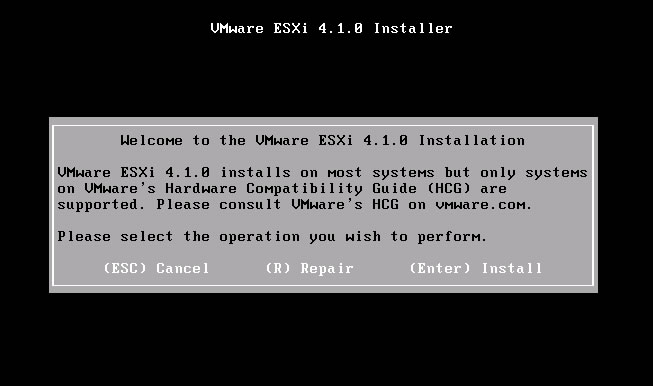
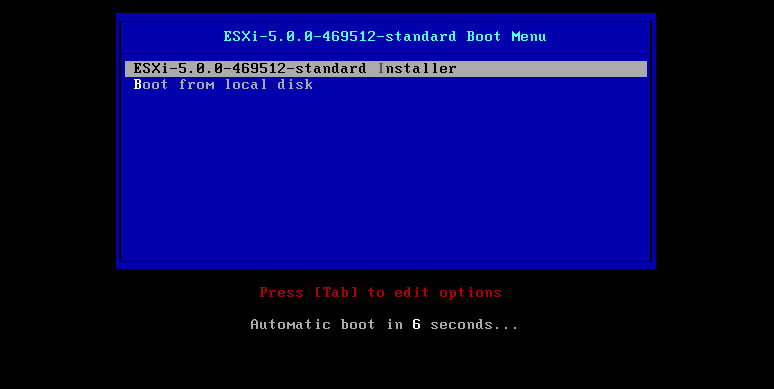
1. Using compatible hardware boot from the ESXi 5.0 CD and press Enter to start the ESXi Installer
2. Press Enter to install ESXi 5.0
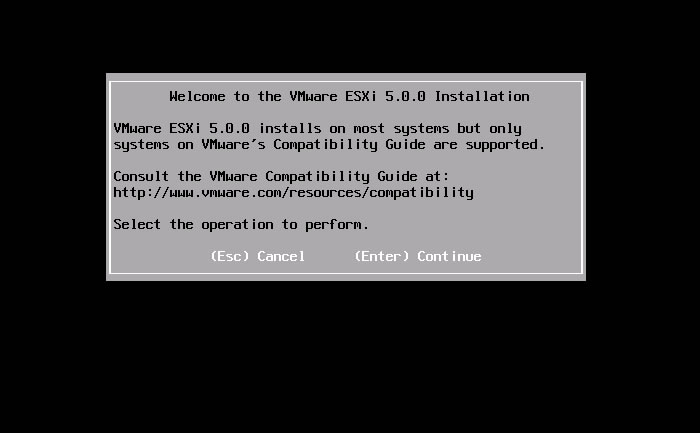
3. Press F11 to accept the End User License Agreement
4. Select a disk to install ESXi on to and press Enter to continue
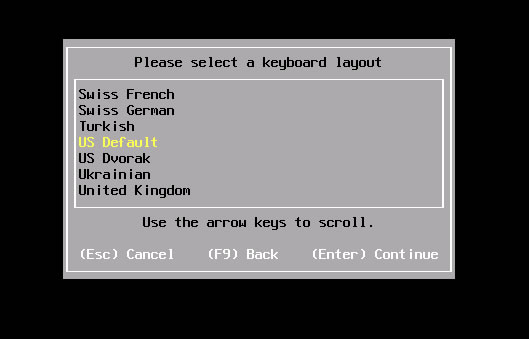
5. Select the keyboard layout and press Enter
6. Enter a root password and press Enter
7. Press F11 to confirm the installation
8. After the ESXi installation has completed, remove the CD and press Enter to reboot
9. Press F2 on the ESX console to customize the system
10. Enter the root password

11. Press the down arrow key to scroll down to Configure Management Network and press Enter
12. Press the down arrow key to scroll down to IP configuration and press Enter

13. Press the down arrow key to scroll down to set static IP and press Space to select, then scroll down to enter IP, Subnet and Gateway configuration information and press Enter when complete
14. Press the down arrow key to scroll down to DNS and press Enter to change
15. Configure DNS and press Enter
16. Press the ESC key to exit Management Network, then press Y to apply changes and restart Management Network

17. The ESX console will now display the Static IP address and the ESX server is operational
18. The ESX console will now display the Static IP address and the ESX server is operational

19. From a Windows XP/7 based machine open Internet Explorer and enter the IP address for the ESXi server, then click on the link to download vSphere Client and run the installation using default settings

20. Launch the vSphere client and enter the IP address and login credentials for the server you installed

21. When prompted by a Certificate Warning, check the box to install the certificate and then click ignore

22. Configure Remote Tech Support (SSH) by selecting the server IP address, click the Configuration tab, security profile, properties, Remote Tech Support (SSH), select Start Automatically, click Start and click OK

23. Download and install WinSCP then connect to your ESXi server by entering the server IP address, login credentials, change the file protocol to SCP and click Login

24. Click Yes to acknowledge the warning about the host key

25. Navigate to the appropriate local computer ISO location folder on the left pane and go to /vmfs/volumes/datastore1 on the ESXi server then select an ISO and drag it over to copy it to the server. This is media which will later be used to install Virtual Machines on the ESX host

|
ESXi Windows XP Pro Installation & Configuration
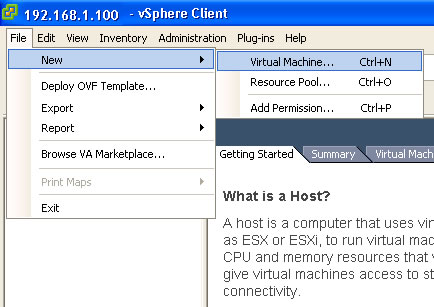
1. Create a new machine by clicking File, New, Virtual Machine in the ESXi vSphere console

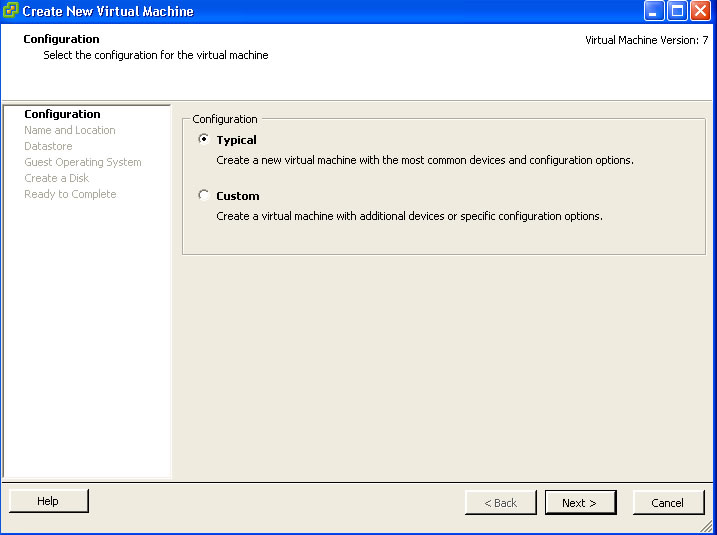
2. Select typical configuration and click Next

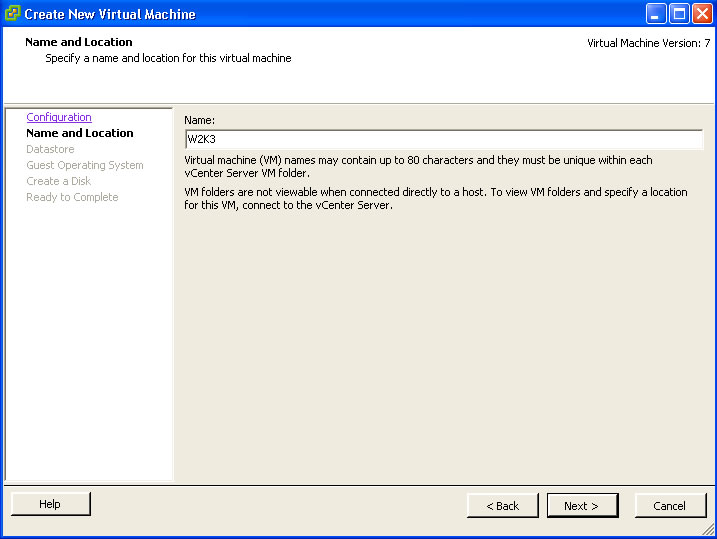
3. Enter the name of the virtual machine you are going to create and click Next

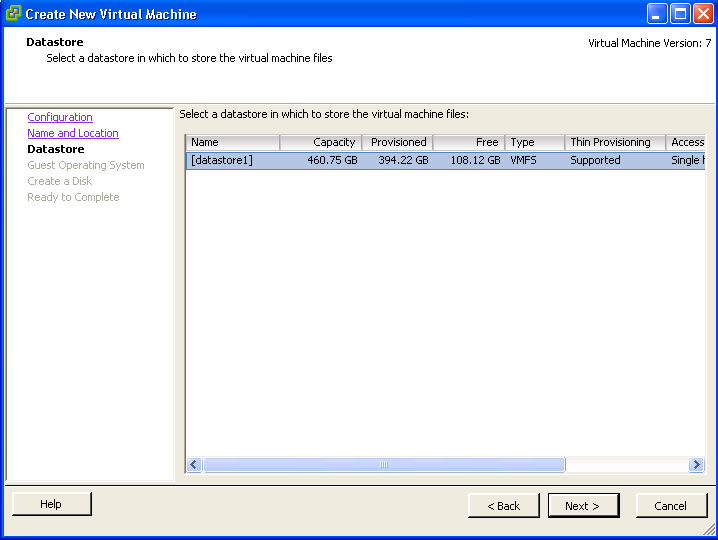
4. Select a datastore in which to store the virtual machine files and click Next
5. Select Microsoft Windows as the guest operating system and click the drop down to select the version
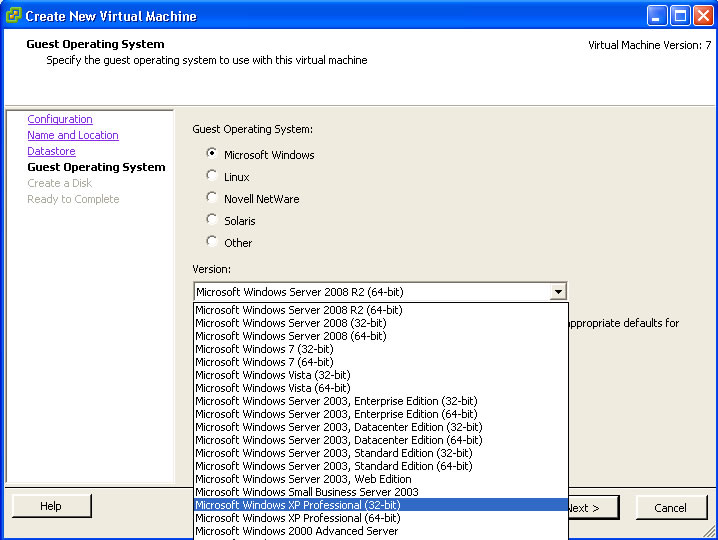
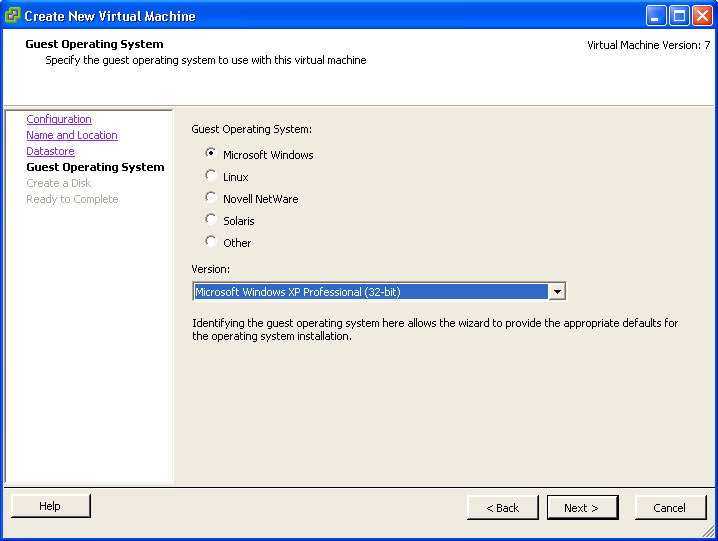
6. Select Microsoft Windows XP Professional and click Next
7. Leave the virtual disk size as the default and click Next

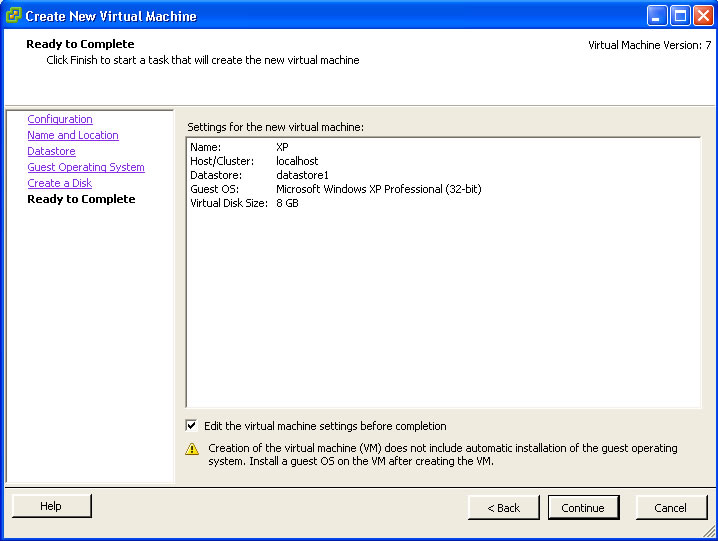
8. Click the checkbox to edit the virtual machine settings before completion and click Continue
9. Increase the memory size to either 512mb or 1gb
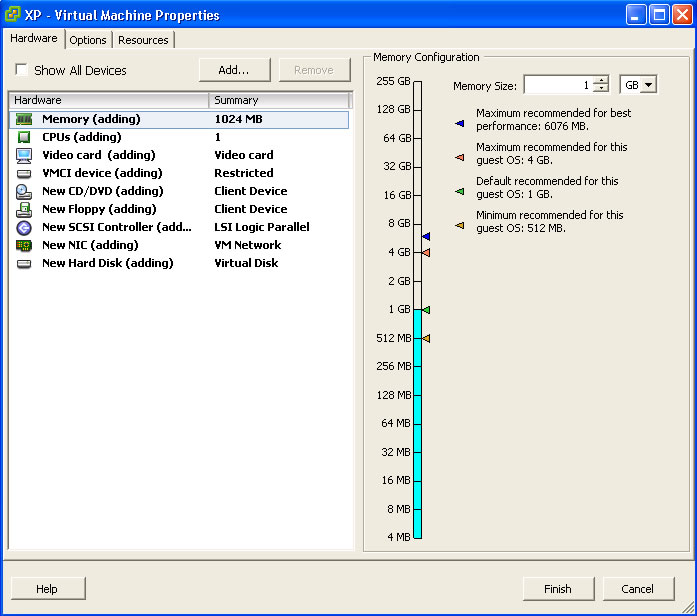
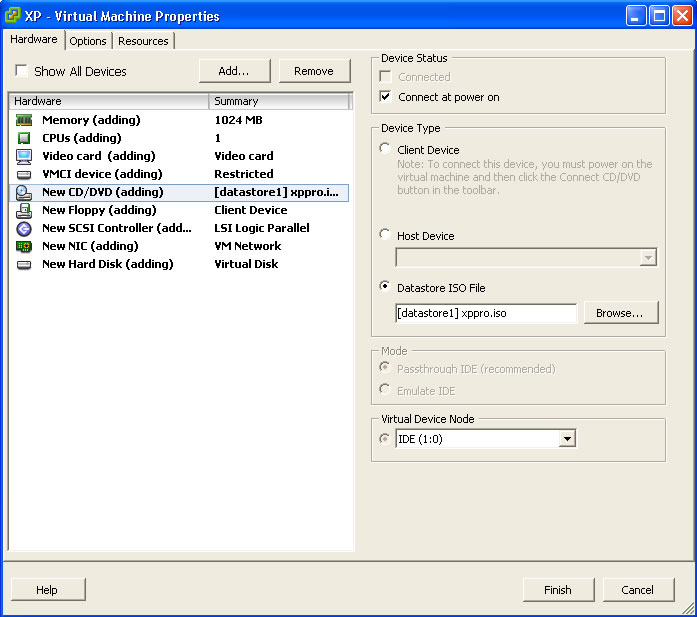
10. Select New CD/DVD, click datastore ISO file, click browse, select datastore1, select the XPPro ISO and click OK

11. Click the checkbox to connect at power on and click Finish
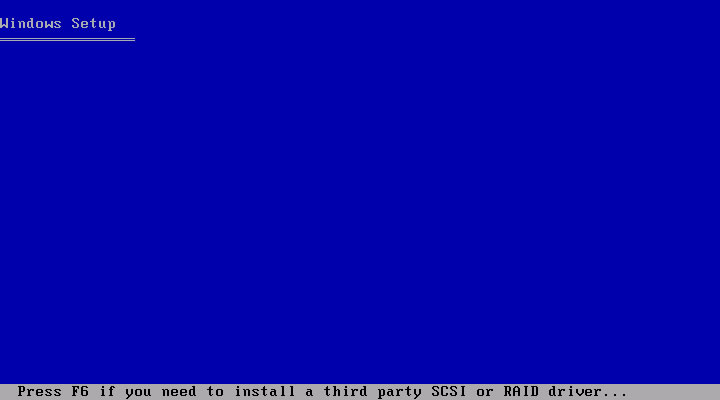
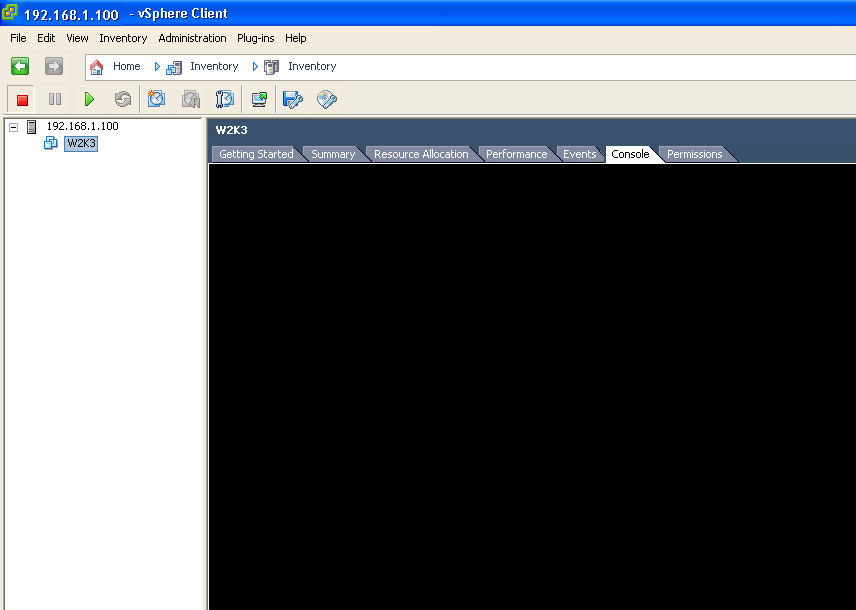
12. Select the virtual machine, click the Console tab and click the green arrow to Power on the machine

13. Windows Setup will start
14. To setup Windows XP press Enter to continue
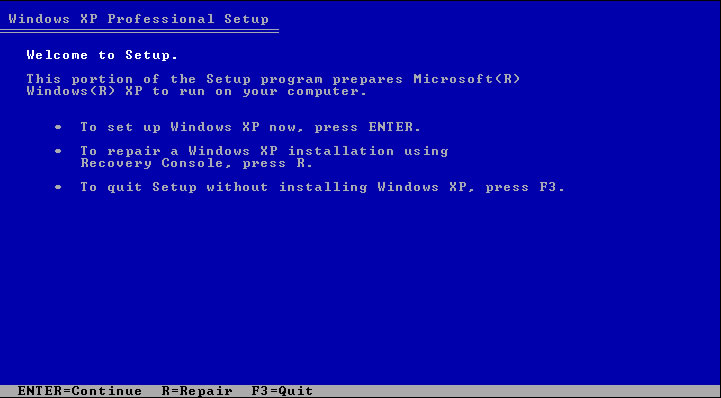
15. Press F8 to accept the End User License Agreement
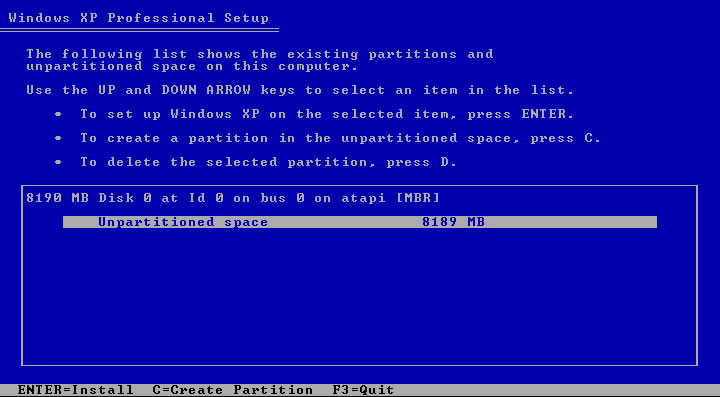
16. Press C to create a partition to install Windows on
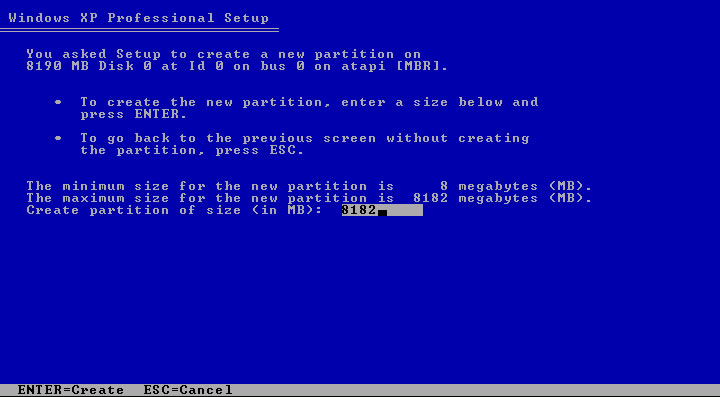
17. Use the default size and press Enter to create the partition
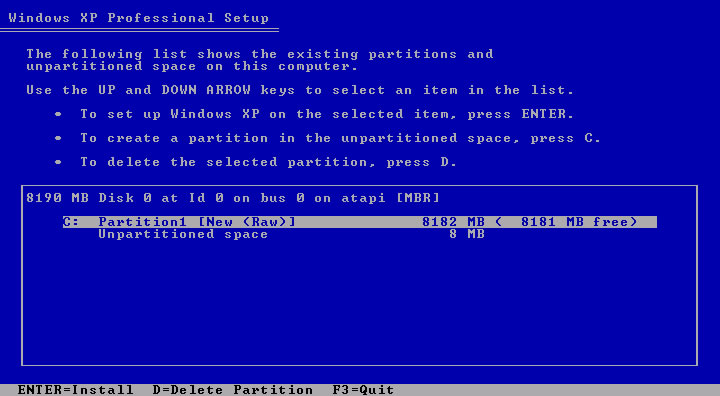
18. Press Enter to install Windows on the partition
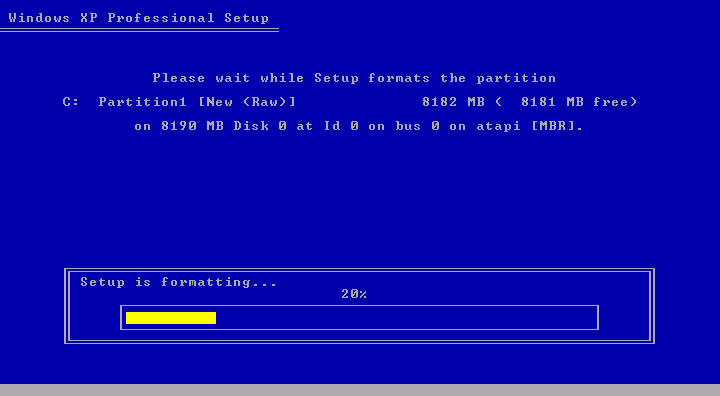
19. Select format the partition using the NTFS file system (Quick) and press Enter

20. Formatting will only take a few moments to complete
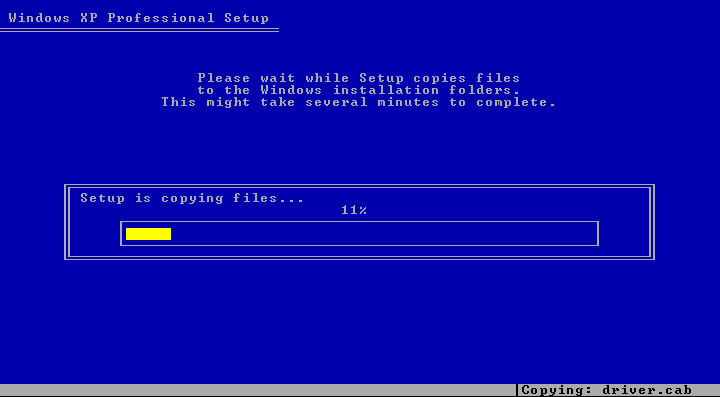
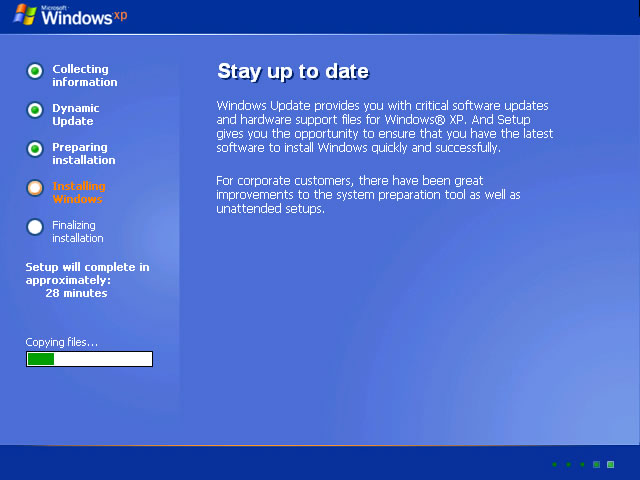
21. Setup will copy files for about 5 minutes
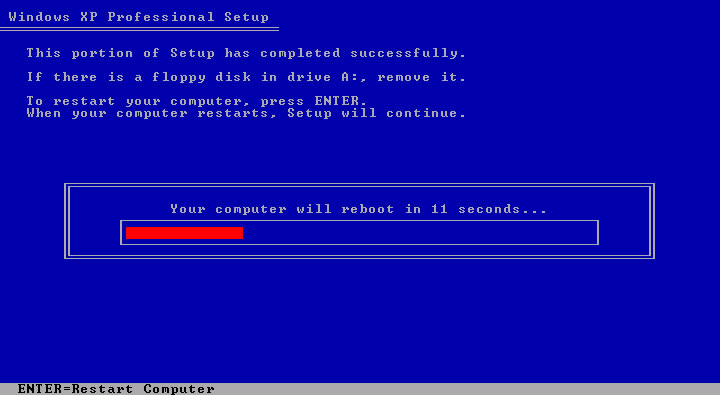
22. Upon completion of copying files the computer will automatically reboot
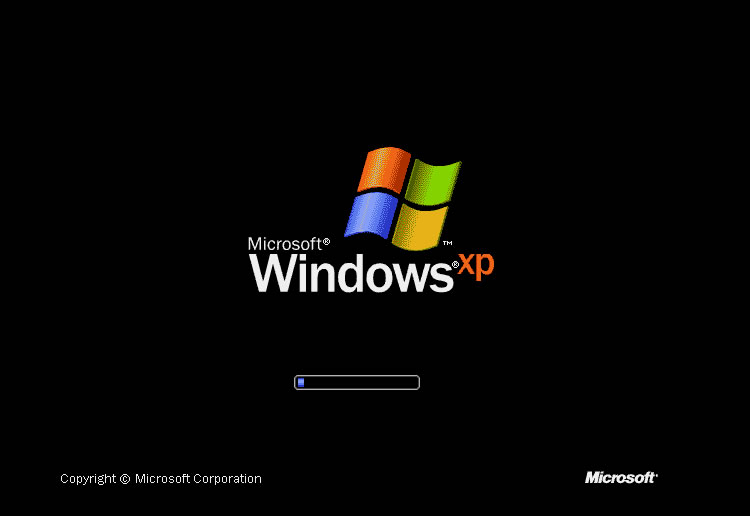
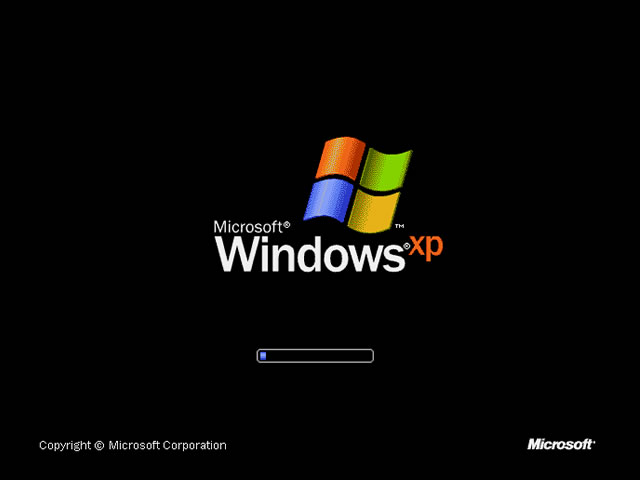
23. Windows will start up
24. Installation progress will be displayed and run for approximately 5 minutes
25. Select regional and language options and click Next
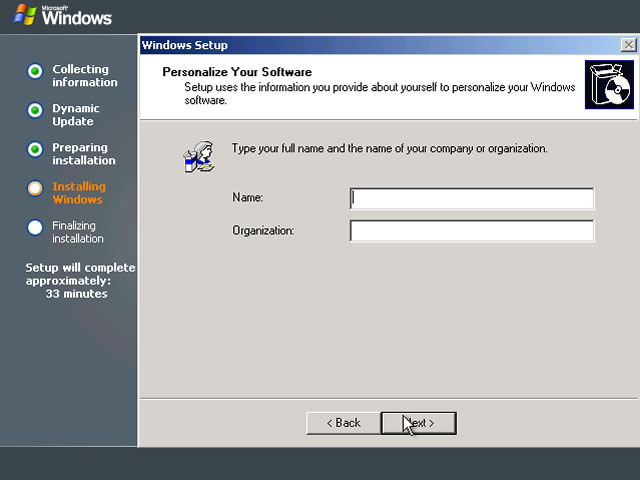
26. Enter Name and Organization and click Next

27. Enter the product license key and click Next

28. Enter the computer name and administrator password and click Next
29. Set the correct time and date, configure the time zone and click Next

30. Installation progress will be displayed and run for approximately 2 minutes
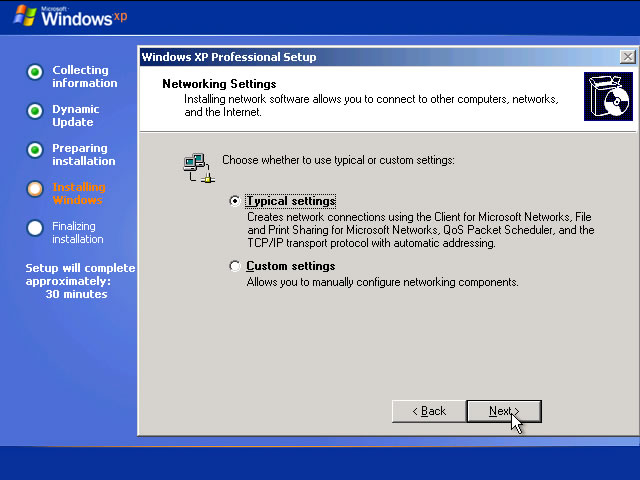
31. Select typical network settings and click Next
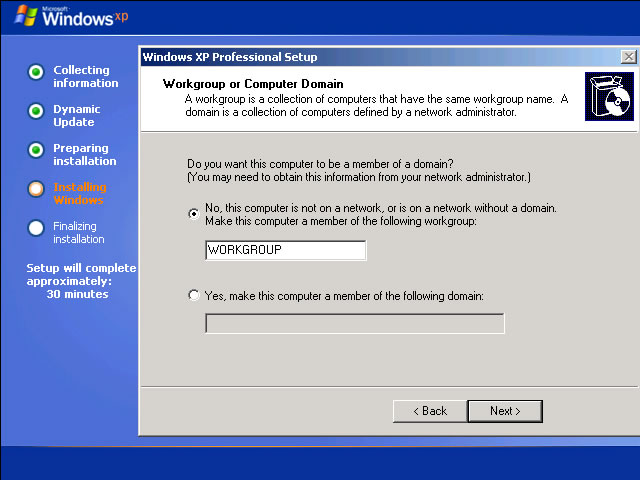
32. Leave the computer as a part of Workgroup and click Next
33. Installation progress will be displayed and continue until completion at which time the computer will reboot
34. Windows will start up
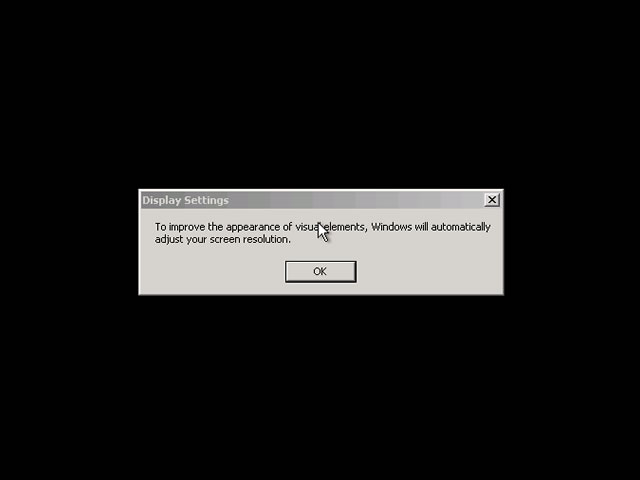
35. Click OK to automatically adjust screen resolution
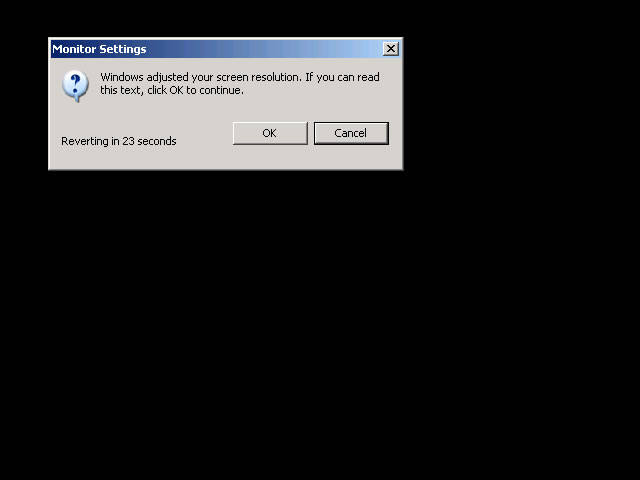
36. Click OK if monitor settings are ok and you can read the text
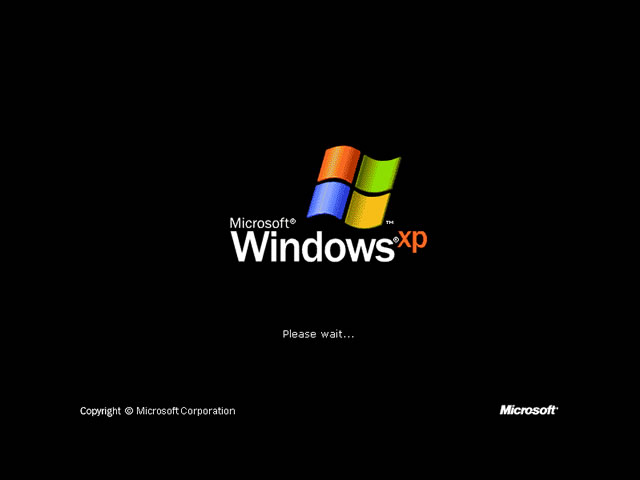
37. Windows will continue to start up
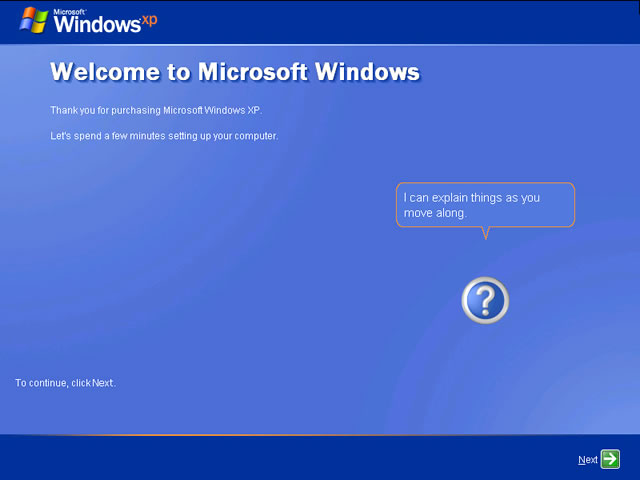
38. At the Windows welcome screen, click Next to continue
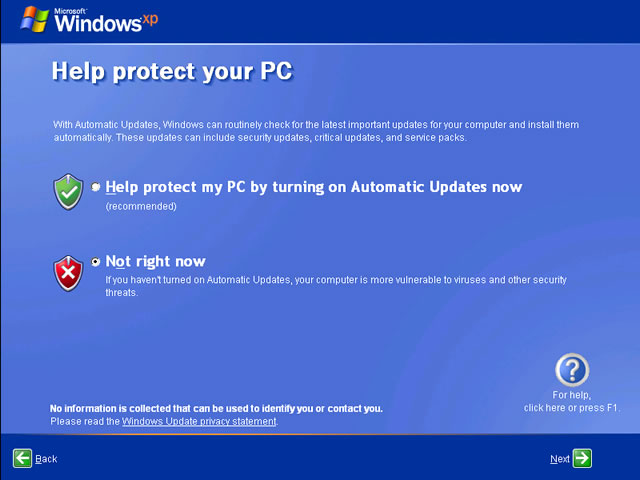
39. For Windows updates, select Not right now and click Next
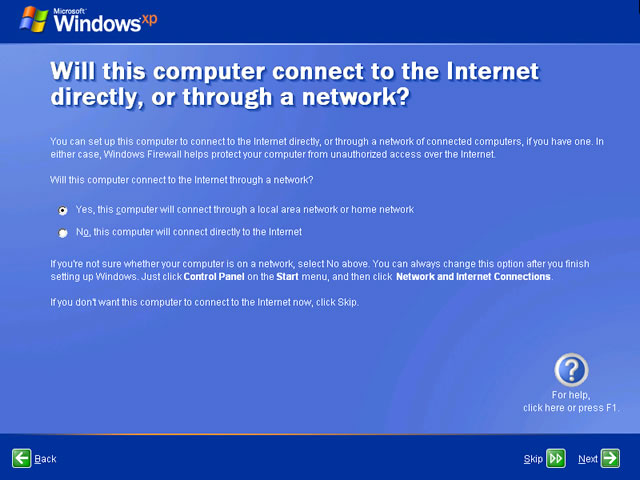
40. Click Skip to not connect this computer to the Internet now
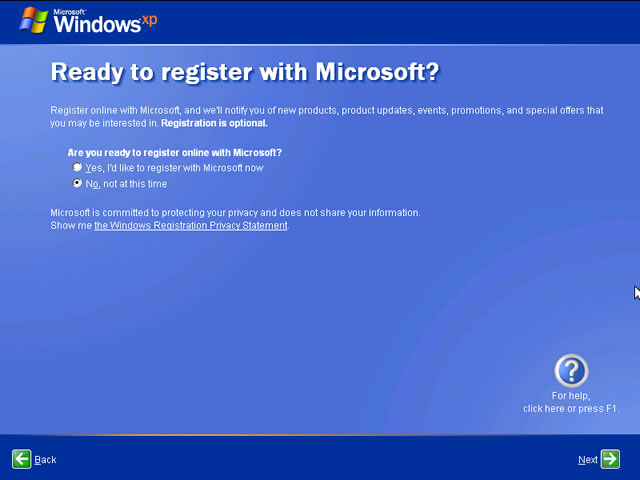
41. Select do not register with Microsoft and click Next
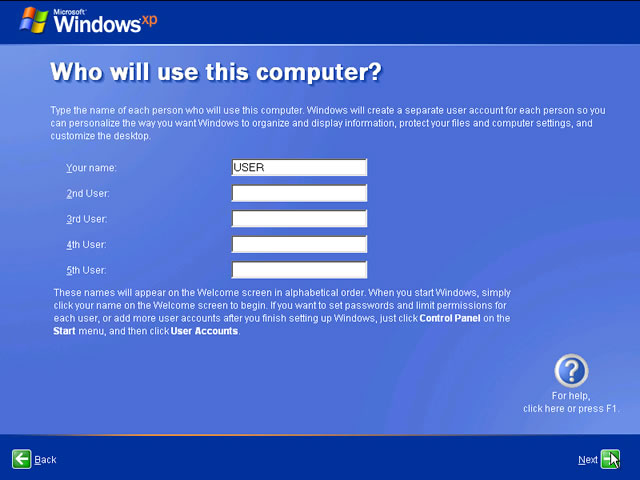
42. Enter a user name and click Next
43. Click Finish
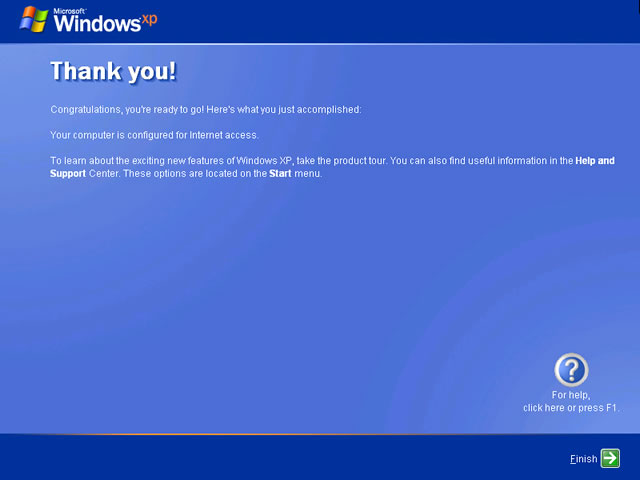
44. Right click on My Computer and select properties
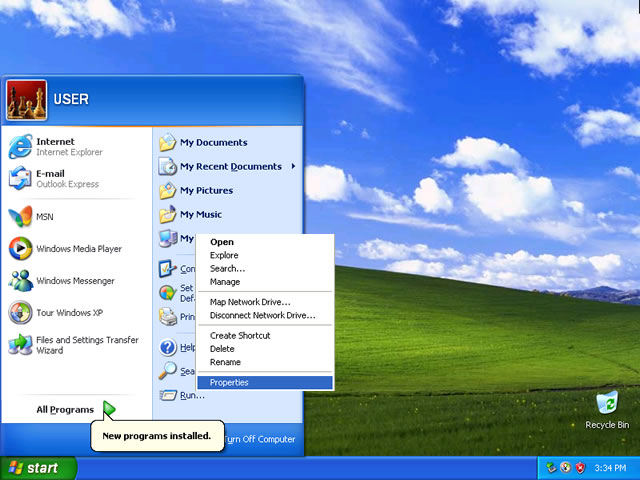
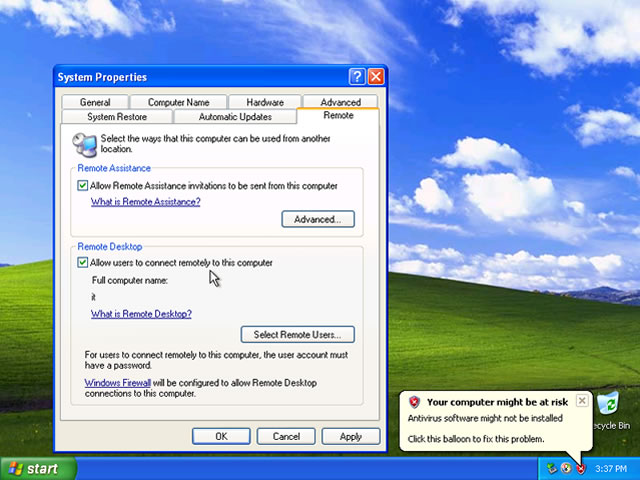
45. Select the Remote tab and click the checkbox to allow users to connect remotely to this computer and click OK
|
ESXi Windows 7 Installation & Configuration
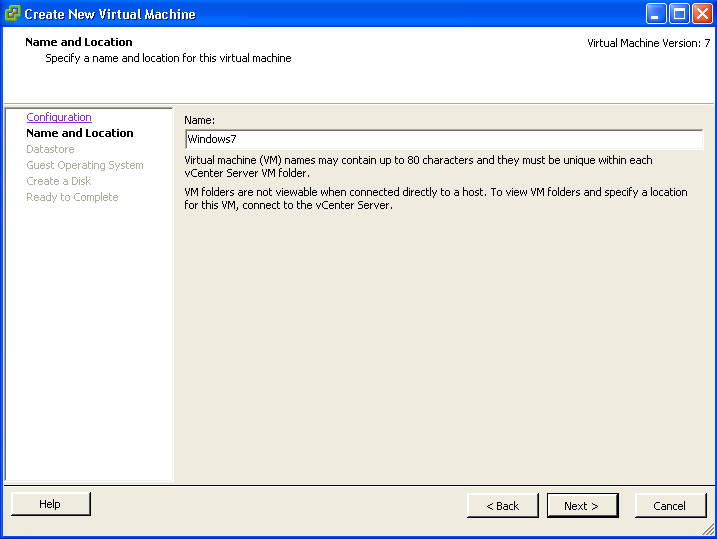
1. Create a new machine by clicking File, New, Virtual Machine in the ESXi vSphere console

2. Select typical configuration and click Next

3. Enter the name of the virtual machine you are going to create and click Next
4. Select a datastore in which to store the virtual machine files and click Next

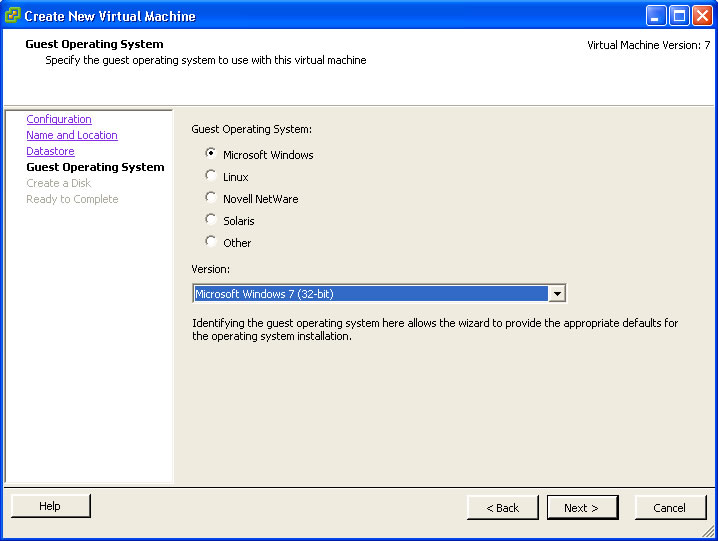
5. Select Microsoft Windows as the guest operating system and click the drop down to select the version
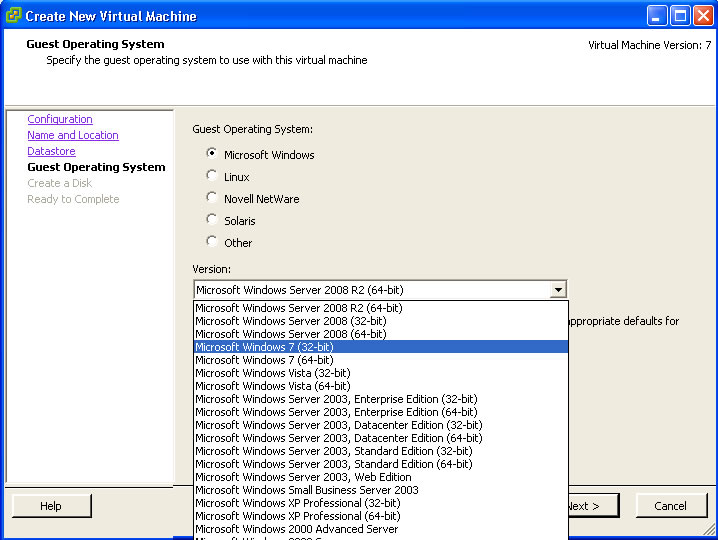
6. Select Microsoft Windows 7 (32-bit) and click Next
7. Leave the virtual disk size as the default and click Next

8. Click the checkbox to edit the virtual machine settings before completion and click Continue

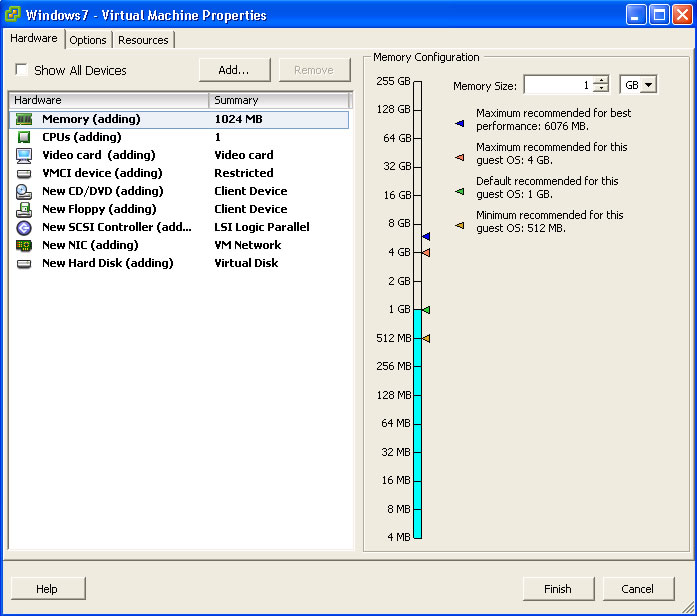
9. Leave the memory size at the default setting of 1gb
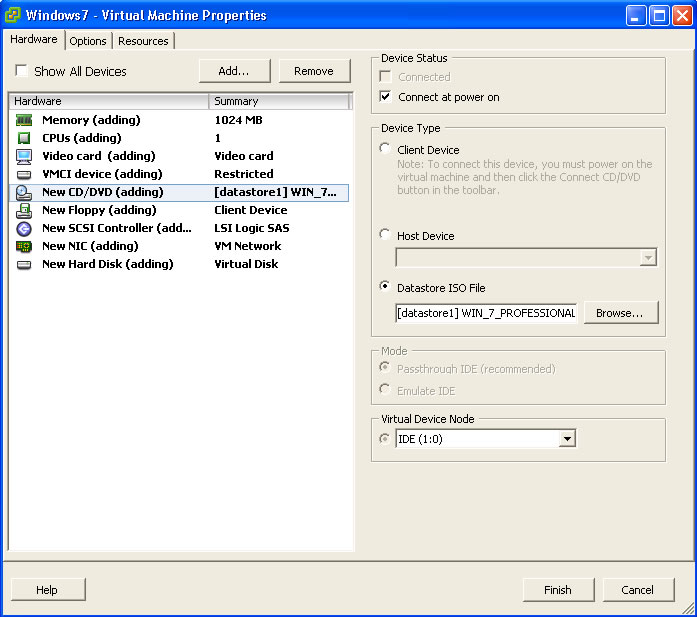
10. Select New CD/DVD, click datastore ISO file, click browse, select datastore1, select the WIN_7_Professional ISO and click OK

11. Click the checkbox to connect at power on and click Finish
12. Select the virtual machine, click the Console tab and click the green arrow to Power on the machine

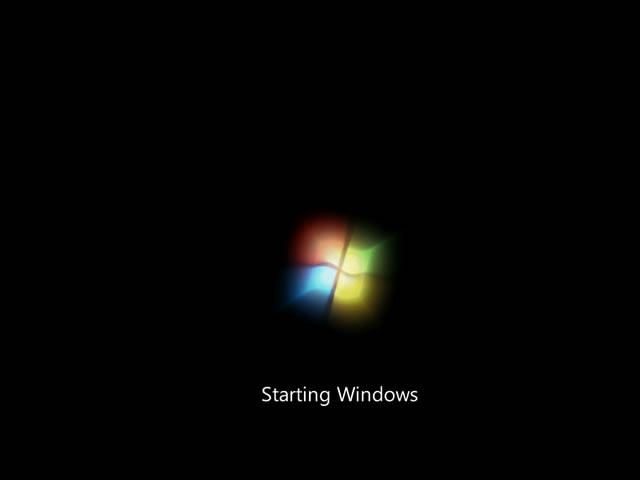
13. Windows will start loading files

14. Windows will start

15. The Windows logo will display as Windows continues to start
16. Select the language to perform the installation in
17. Enter your language and other preferences and click Next to continue
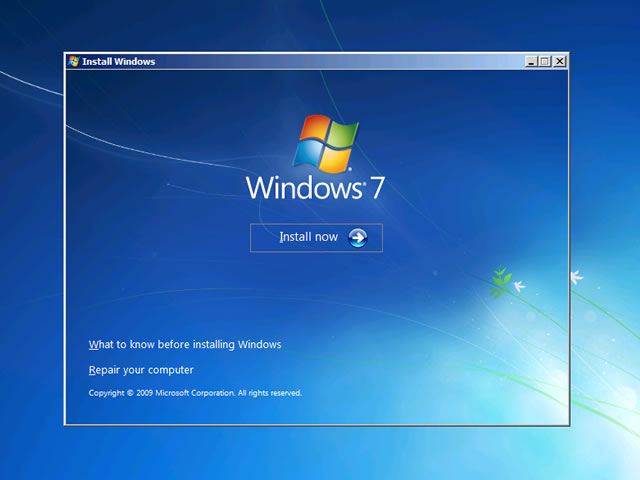
18. Click Install now
19. Accept the license agreement and click Next
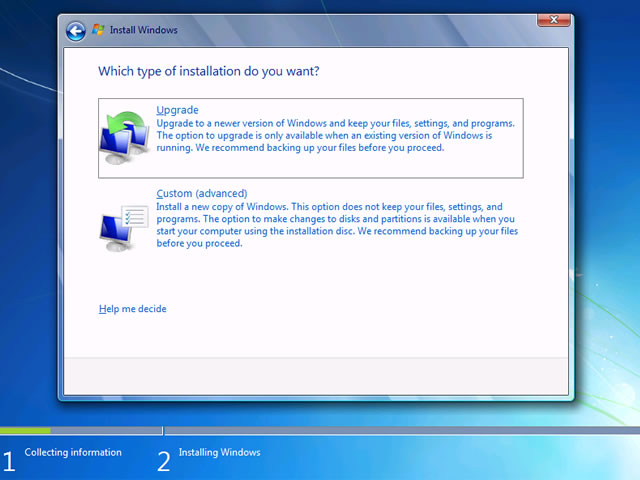
20. To perform a new installation click custom (advanced)
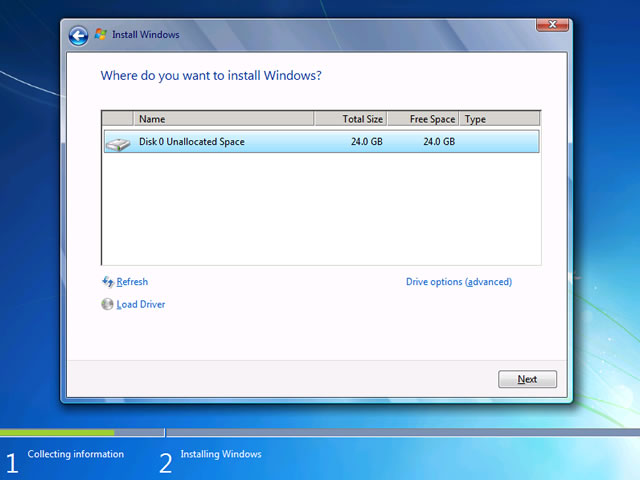
21. Select the disk you want to install Windows on and click Next
22. Installation will display progress status
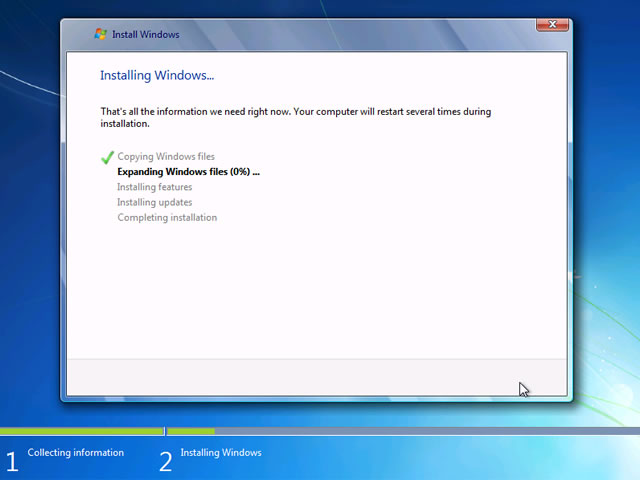
23. Upon completion of installing Windows the computer will automatically reboot
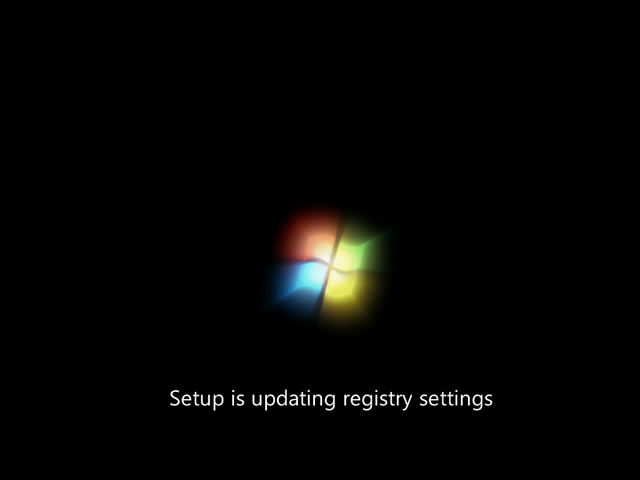
24. Windows will start
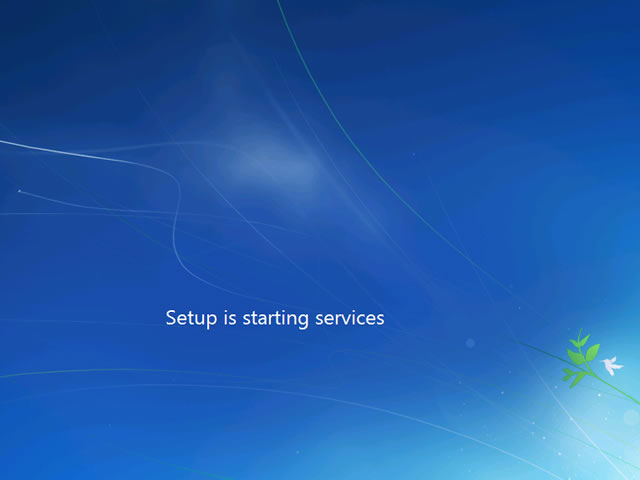
25. Windows will update registry settings
26. Setup will start services
27. Windows setup will continue until completed
28. Windows will start
29. Windows will prepare computer for first use
30. Windows will check video performance
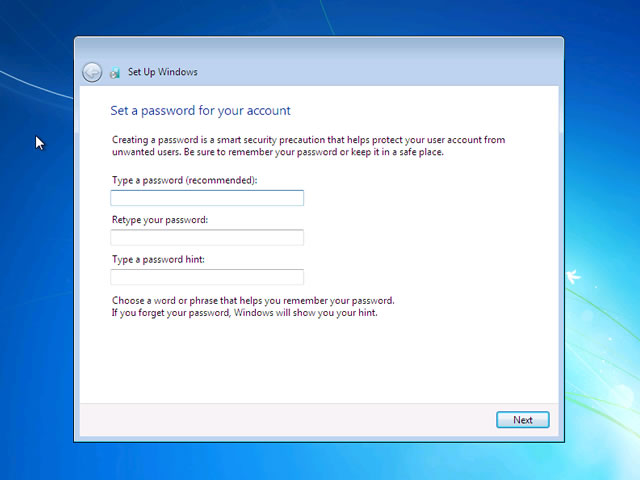
31. Enter user name and computer name and click Next

32. Enter a password, confirm the password, enter a password hint and click Next
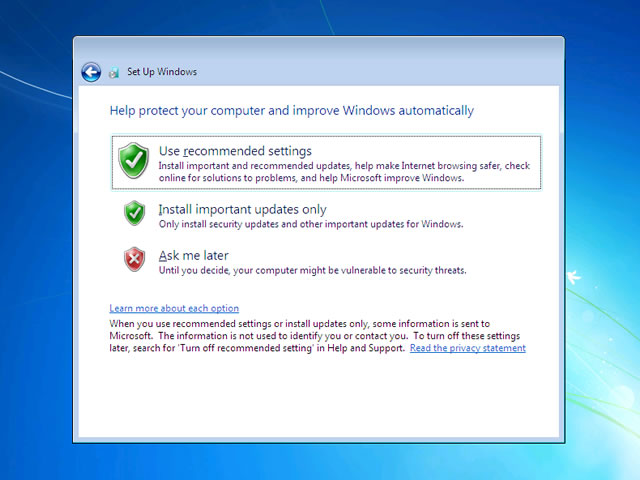
33. Click ask me later for Windows updates
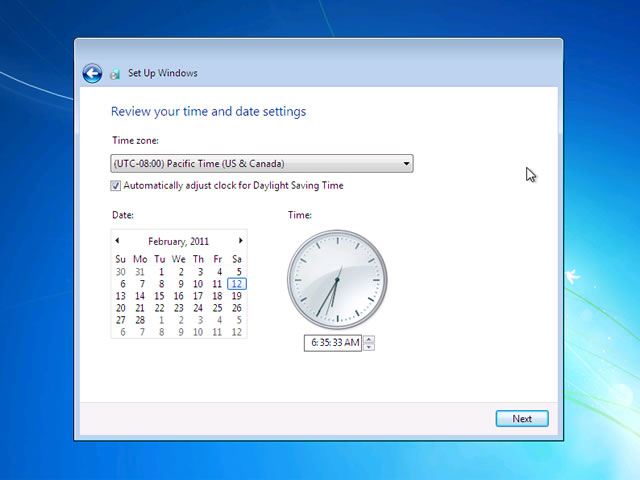
34. Set the correct time and date, configure the time zone and click Next
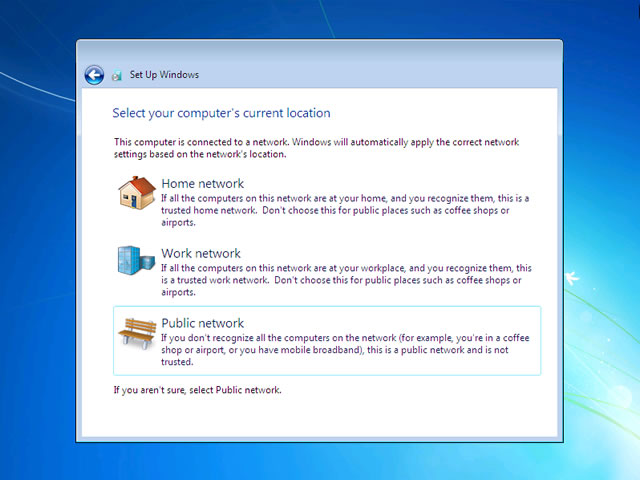
35. Click work network
36. Windows will finalize settings

37. Windows welcome screen will be displayed
38. Windows will prepare the desktop
39. Windows will display the desktop
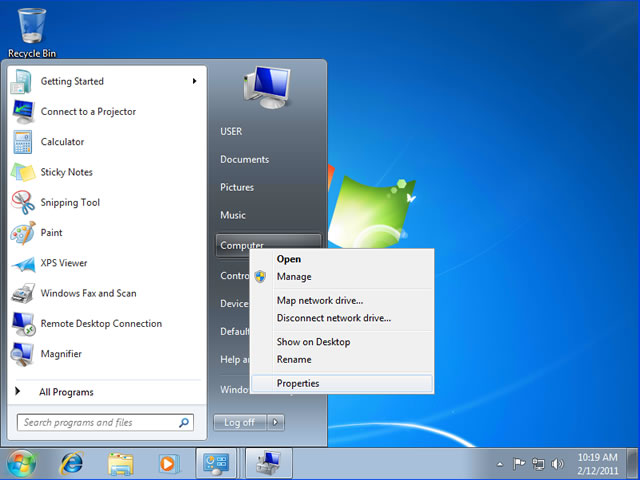
40. Click Start, right click on computer and select properties
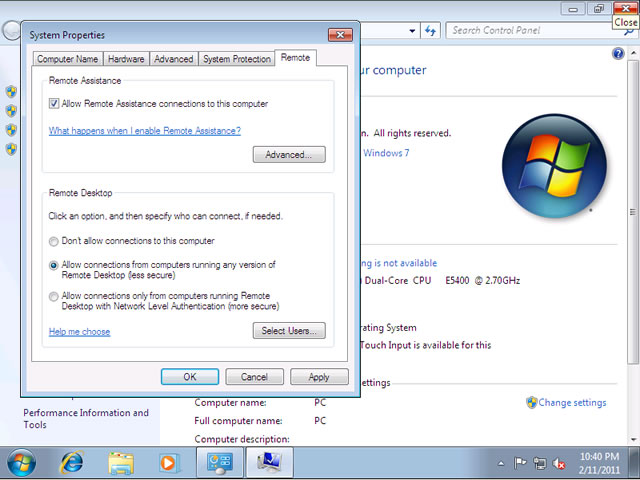
41. Click remote settings
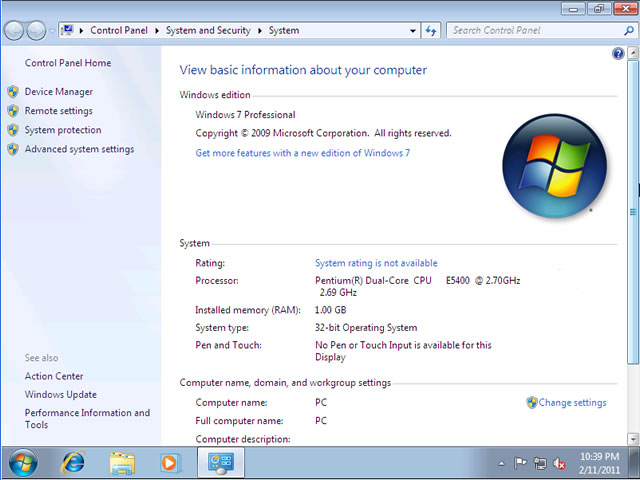
42. Select allow connections from computers running any version of Remote Desktop (less secure) and click Next
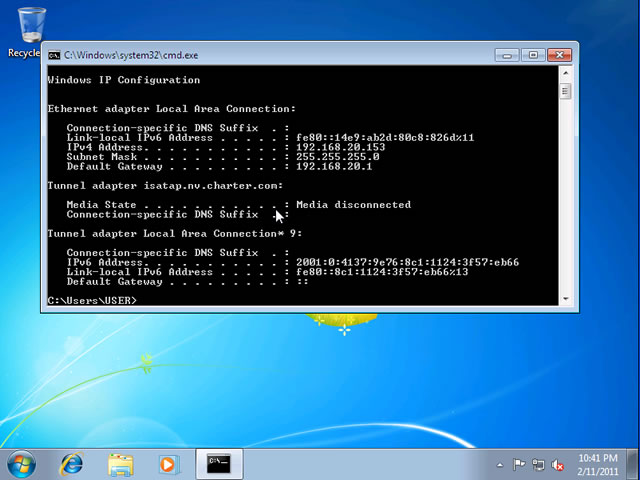
43. Click Start, type CMD and press Enter

44. From the command prompt type IPCONFIG to determine the IP address
|
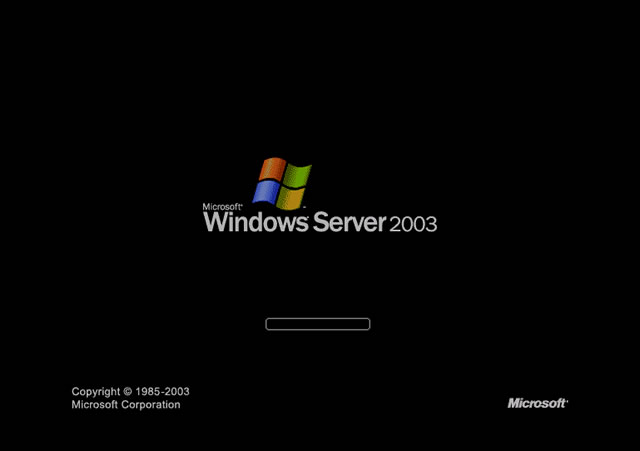
ESXi Windows Server 2003 Installation & Configuration
1. Create a new machine by clicking File, New, Virtual Machine in the ESXi vSphere console
2. Select typical configuration and click Next
3. Enter the name of the virtual machine you are going to create and click Next
4. Select a datastore in which to store the virtual machine files and click Next

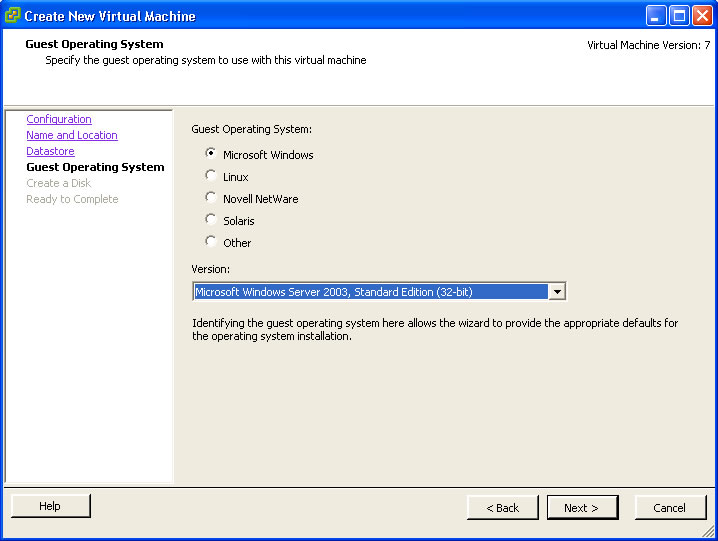
5. Select Microsoft Windows as the guest operating system and click the drop down to select the version
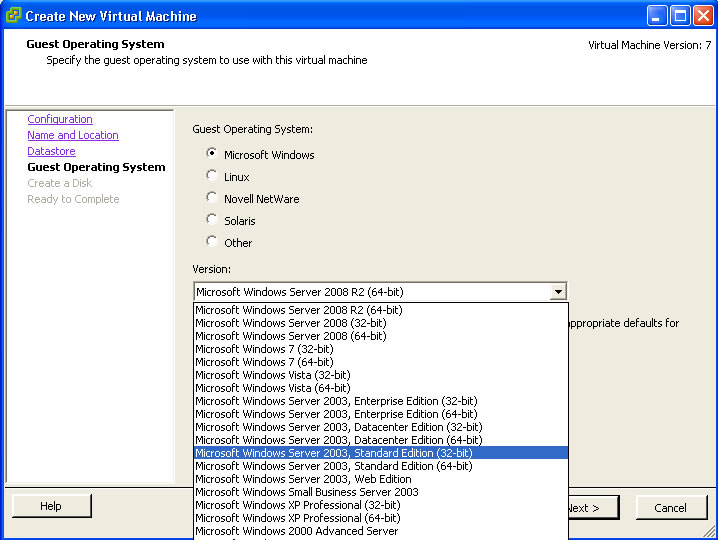
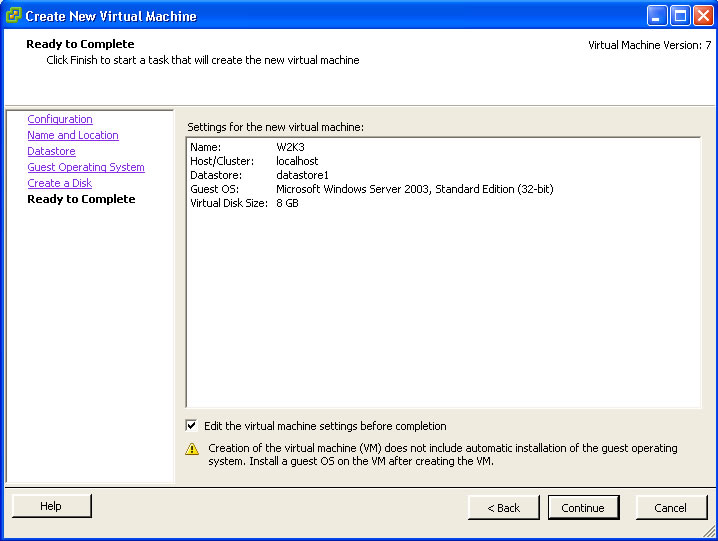
6. Select Microsoft Windows Server 2003, Standard Edition (32-bit) and click Next
7. Leave the virtual disk size as the default and click Next
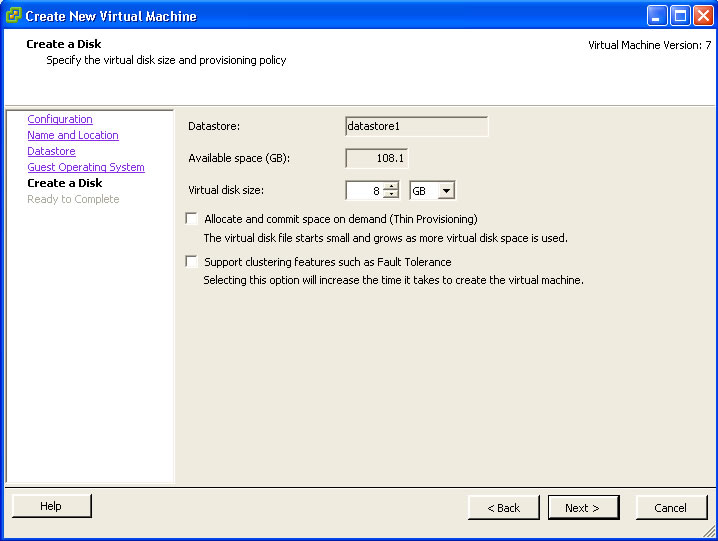
8. Click the checkbox to edit the virtual machine settings before completion and click Continue
9. Leave the default 1gb memory size

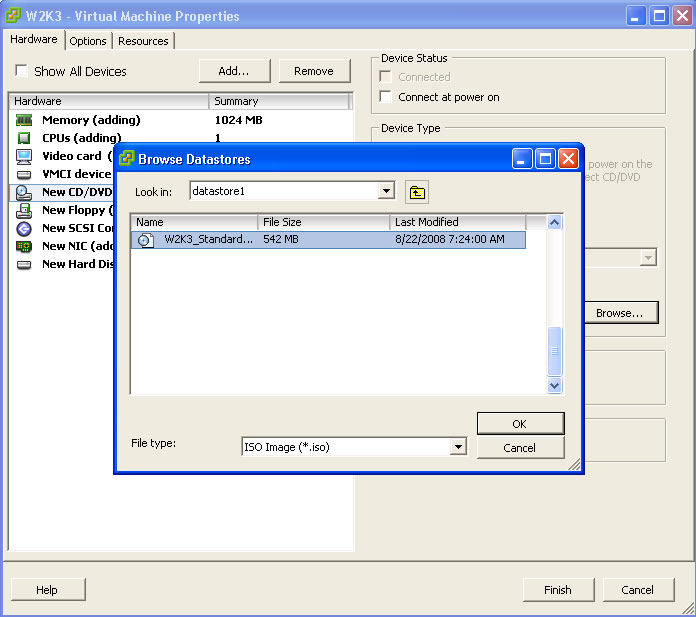
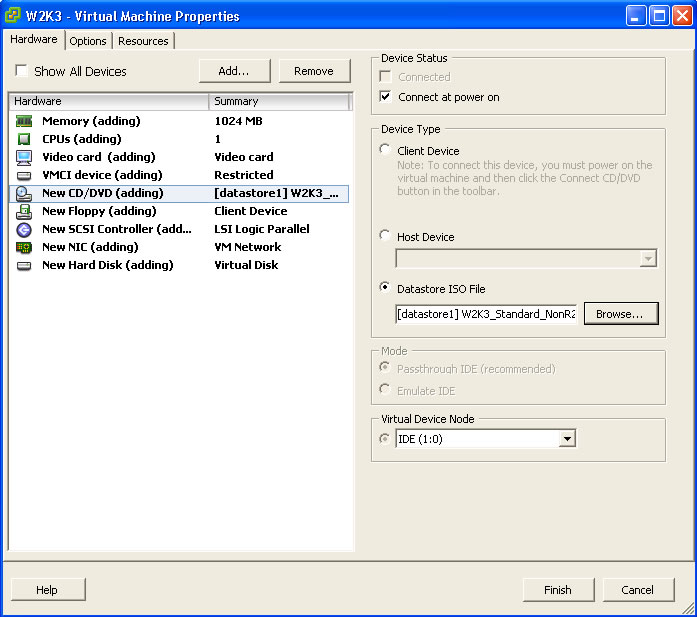
10. Select New CD/DVD, click datastore ISO file, click browse, select datastore1, select the W2K3_Standard_NonR2 ISO and click OK
11. Click the checkbox to connect at power on and click Finish
12. Select the virtual machine, click the Console tab and click the green arrow to Power on the machine
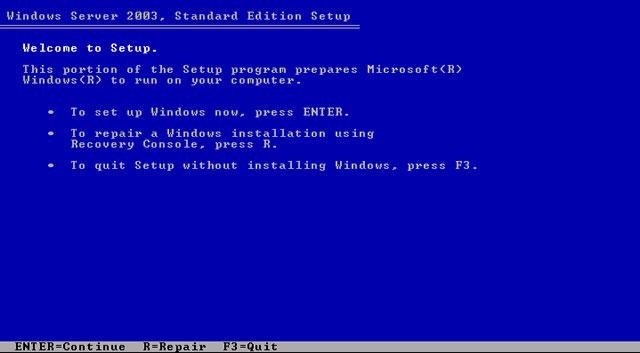
13. Windows Setup will start

14. To setup Windows Server 2003 press Enter to continue
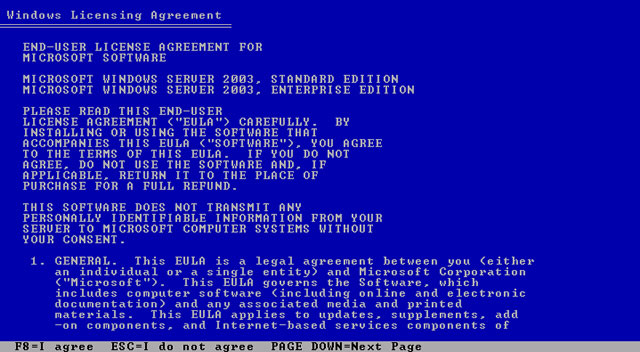
15. Press F8 to accept the End User License Agreement
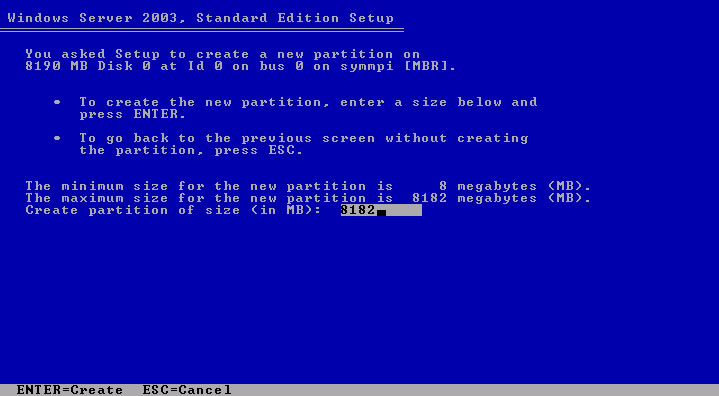
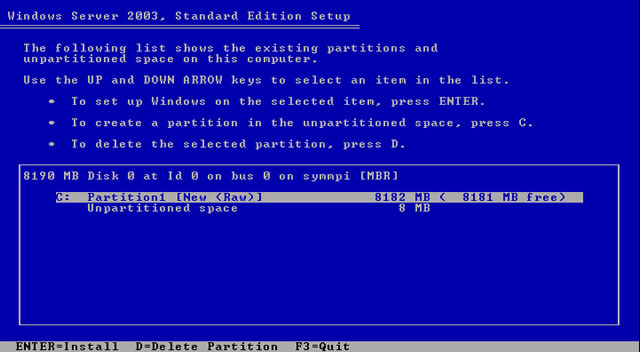
16. Press C to create a partition to install Windows on

17. Use the default size and press Enter to create the partition
18. Press Enter to install Windows on the partition
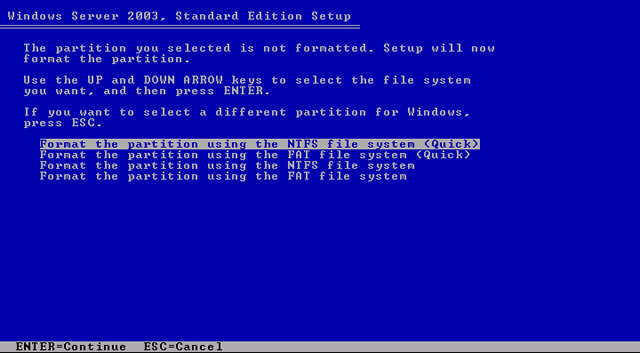
19. Select format the partition using the NTFS file system (Quick) and press Enter
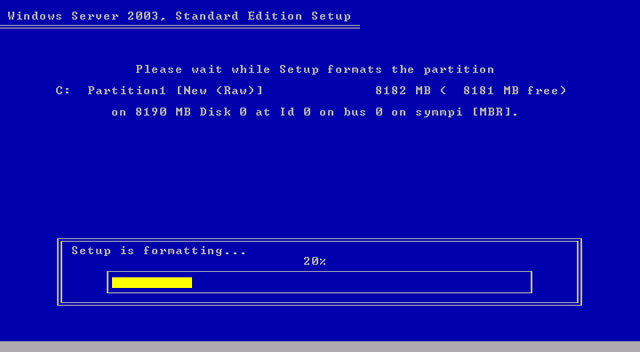
20. Formatting will only take a few moments to complete
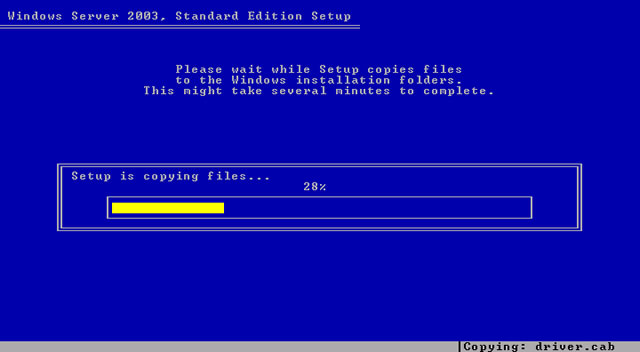
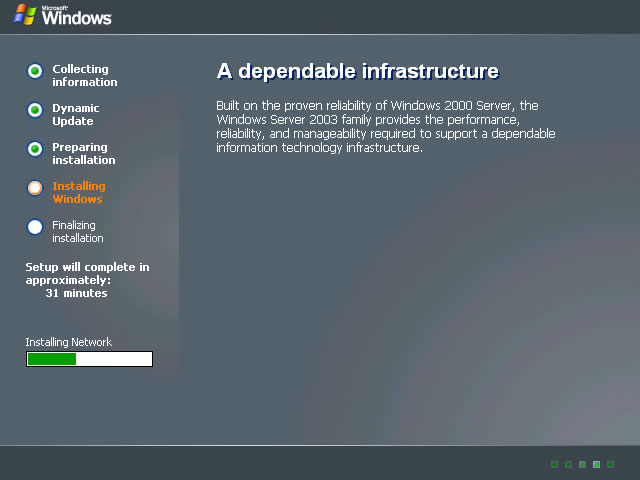
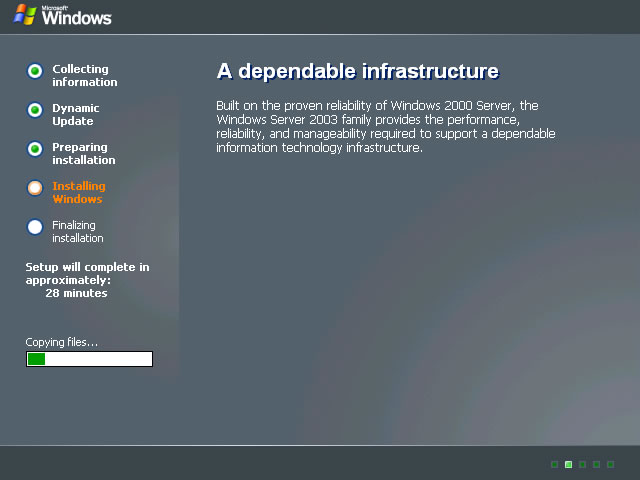
21. Setup will copy files for about 5 minutes
22. Upon completion of copying files the computer will automatically reboot
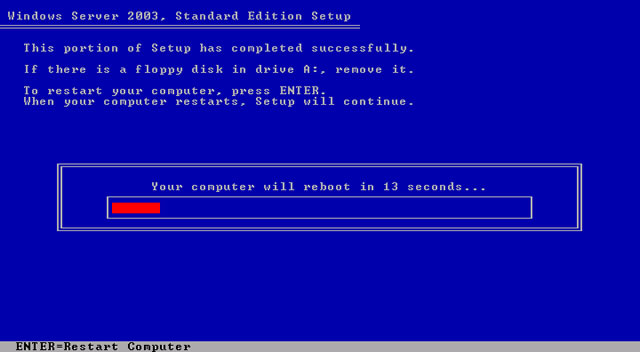
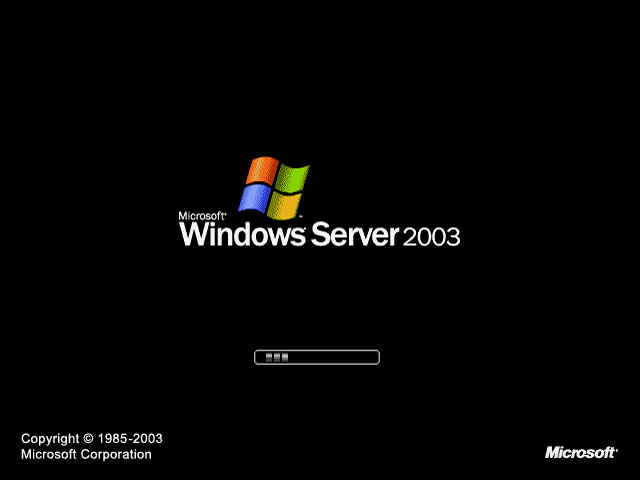
23. Windows will start up
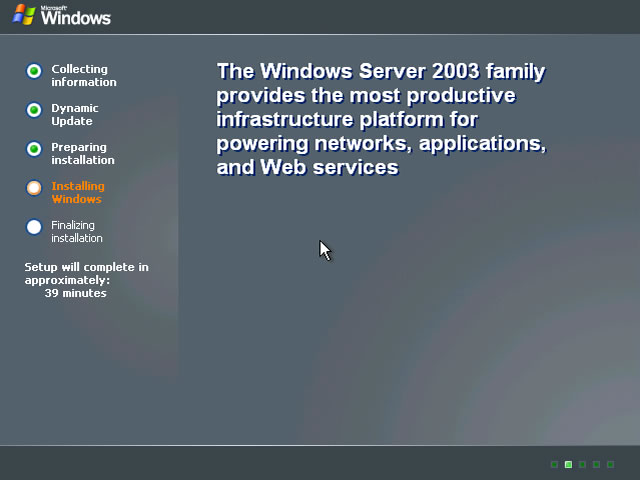
24. Installation progress will be displayed and run for approximately 5 minutes
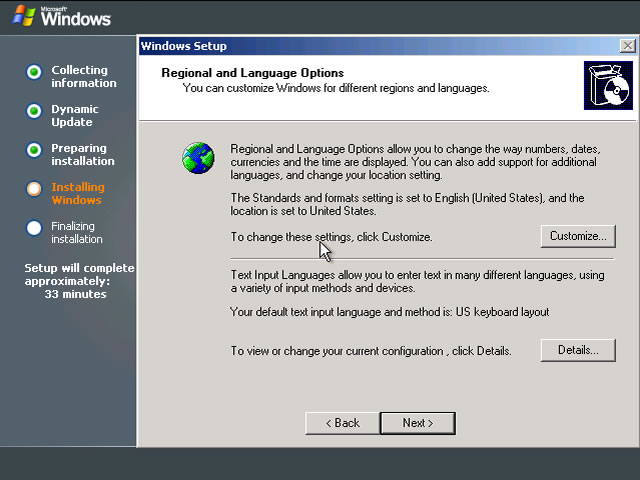
25. Select regional and language options and click Next
26. Enter Name and Organization and click Next
27. Enter the product license key and click Next

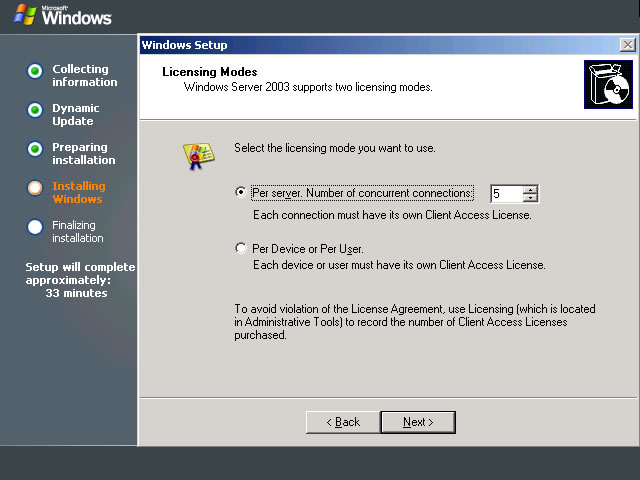
28. Select the appropriate licensing and click Next
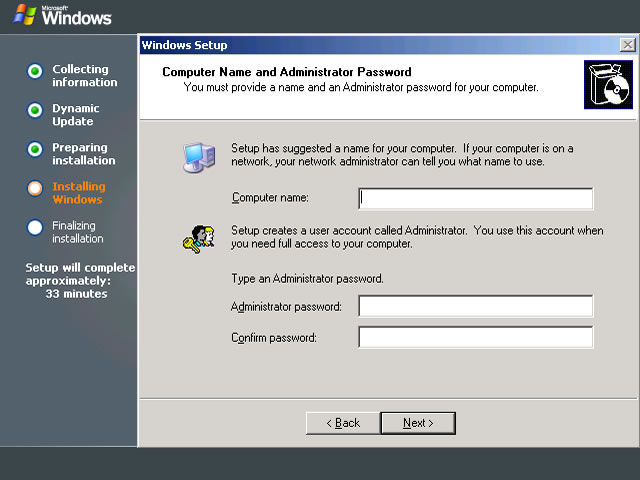
29. Enter the computer name and administrator password and click Next
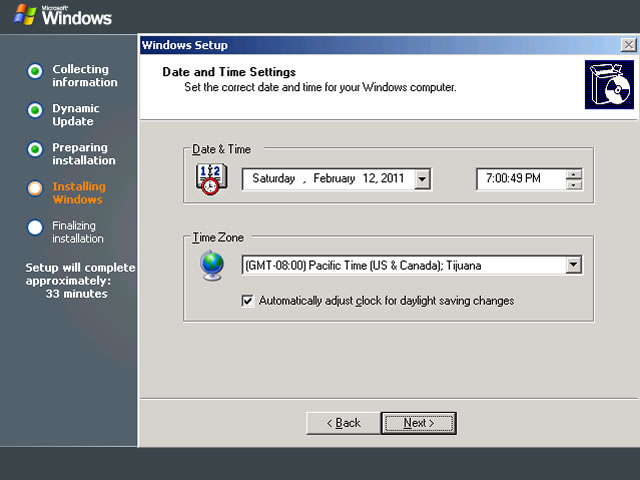
30. Set the correct time and date, configure the time zone and click Next
31. Installation progress will be displayed and run for approximately 2 minutes
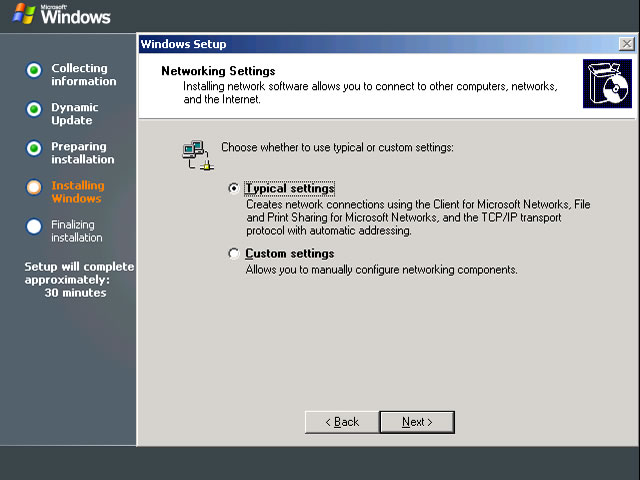
32. Select typical network settings and click Next
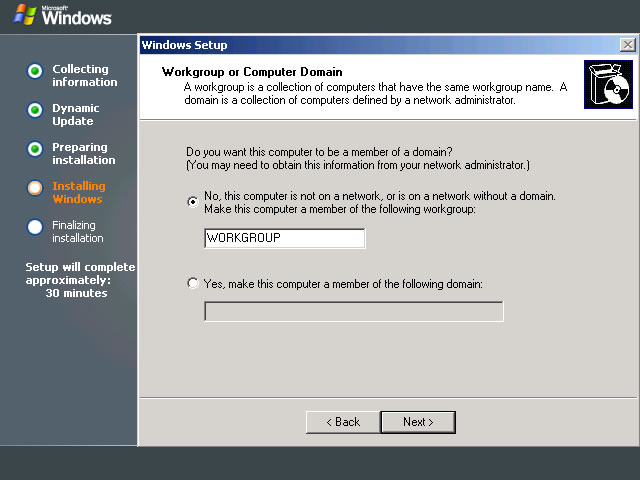
33. Leave the computer as a part of Workgroup and click Next
34. Installation progress will be displayed and continue until completion at which time the computer will reboot
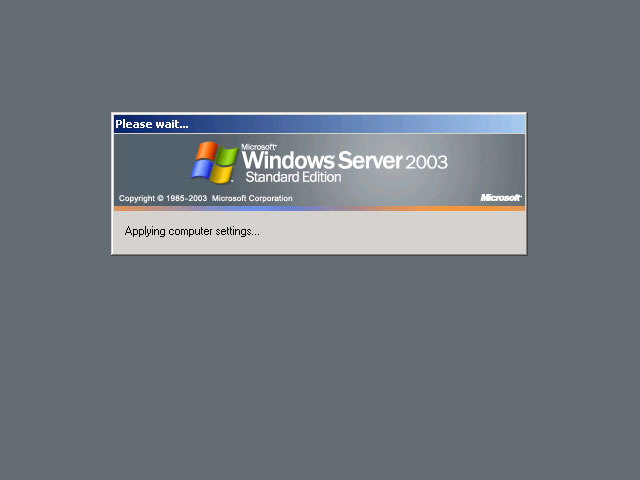
35. Windows will start up
36. Computer settings will be applied while Windows starts
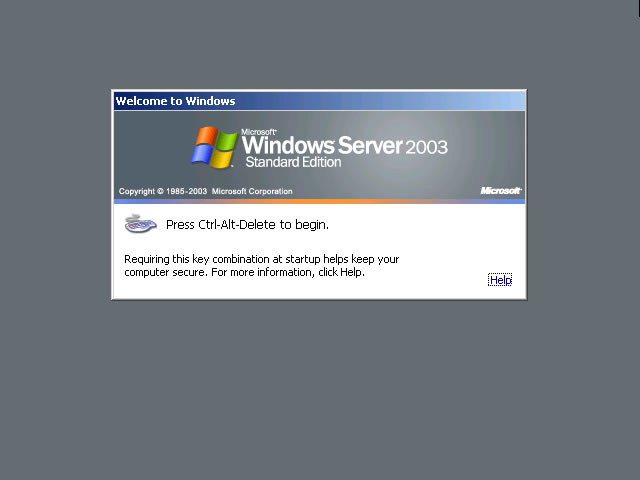
37. At the Windows welcome screen that displays press Ctrl-Alt-Delete to begin, click the mouse on the Welcome area and press Ctrl-Alt-Insert to invoke the logon screen
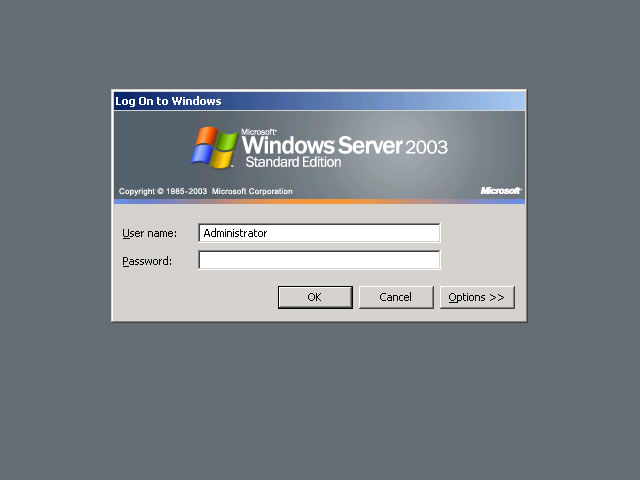
38. Enter the administrator password and press Enter or click OK
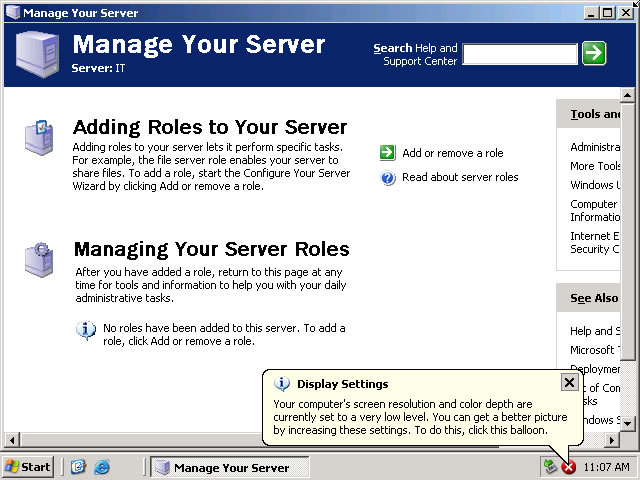
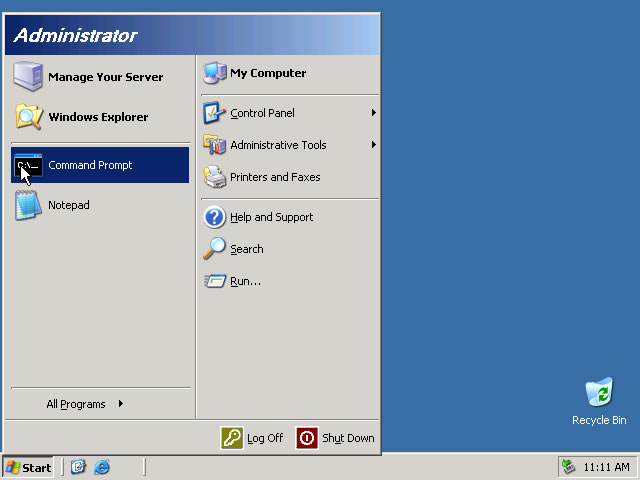
39. Windows will display Manage your server
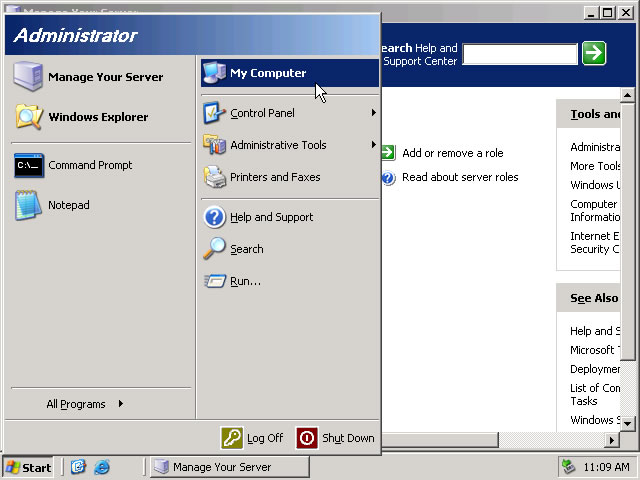
40. Click the Start button, right click on My Computer and select Properties
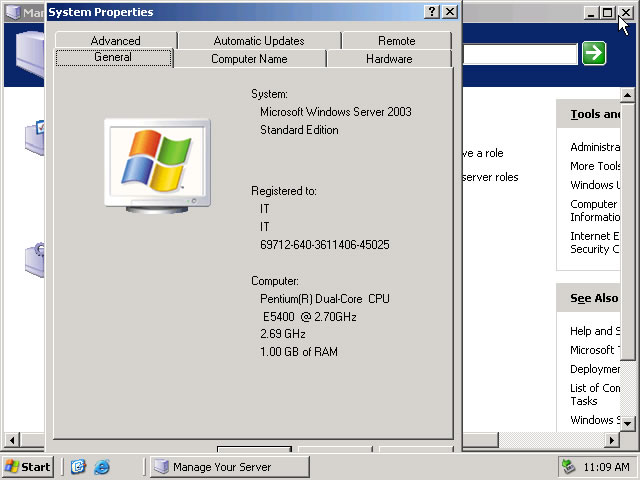
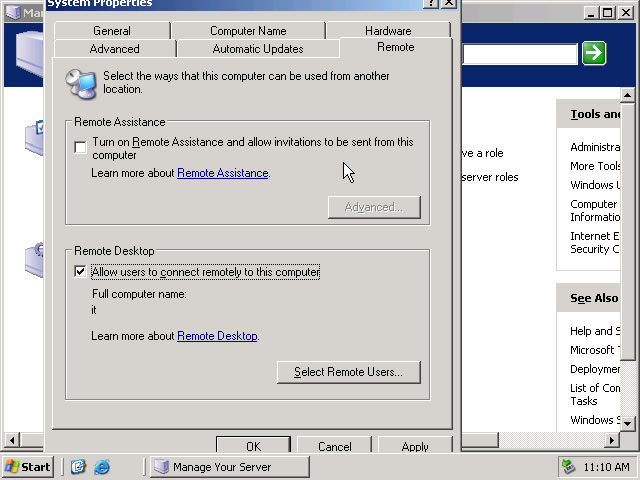
41. Select the Remote tab from system properties
42. Click the checkbox to allow users to connect remotely to this computer and click OK
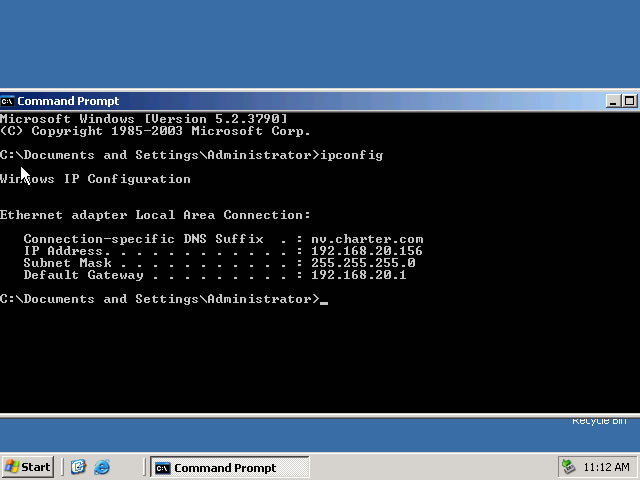
43. Click the Start buttom and click Command Prompt or click the run button and type CMD and press Enter
44. From the command prompt type IPCONFIG to determine the IP address
|